Summary Outline –
Transforming your bathroom doesn’t have to be an extensive project that requires weeks of work and a hefty budget. In fact, sometimes the smallest tweaks can make the biggest impact, livening up the space and bringing new life into a room that most of us start and end our day in.
These bathroom improvements are easily achievable over a weekend, offering immediate gratification and a fresh look with minimal effort. Start by targeting one area at a time; perhaps update your fixtures on Saturday and focus on painting or adding new decor on Sunday.
This staggered approach ensures that changes are manageable and not overwhelming, making it a perfect project for those hectic weekends when time is precious.
Whether you’re a homeowner looking to personalize your space or a committed DIY enthusiast, here are some easy, weekend-friendly bathroom improvements that won’t require any demolition.
- post content … analysis/ weekend bathroom upgrades
- 1st: Let’s Start With Painting
- 2nd: Adding a Smart Mirror for a High-Tech Upgrade
- 3rd: Change Out the Lighting
- 4th: Update the Hardware
- 5th: Decorative Faucets and Showerheads
- 6th: Install Smart Toilets with Water-Saving Solutions
- 7th: Add Additional Storage
- 8th: Perhaps Change of Flooring
- conclusion
- other home interior topics

-
- —— begin first topic ——
-
1st Upgrade: Let’s Start With Painting
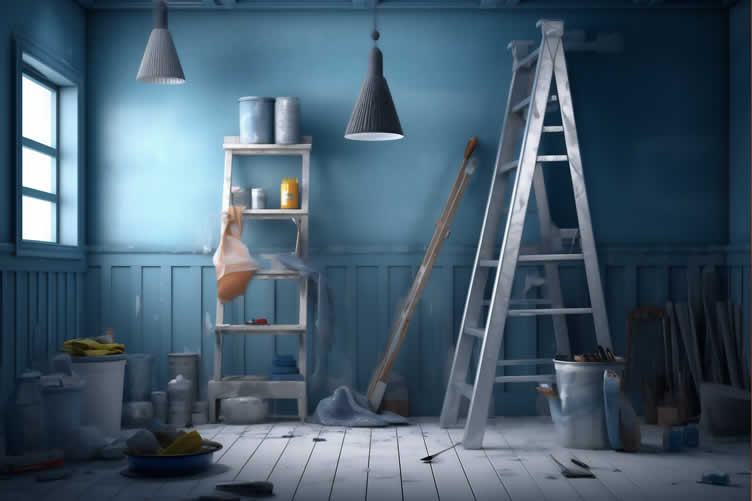
One of the simplest yet most impactful changes you can make to your bathroom over a weekend is a fresh coat of paint. Redoing your bathroom’s walls, ceiling, or even cabinetry with a new color can brighten the space, make it appear larger, or add a much-needed pop of color.
Selecting the right type of paint is crucial in a bathroom due to the high moisture levels. Opt for high-quality, mold-resistant paints specifically designed for bathrooms to ensure longevity and a pristine finish.
Choosing the Right Paint Finish
- Semi-Gloss and Gloss Finishes:
Ideal for bathrooms, these finishes offer high resistance to moisture and are easy to clean, making them perfect for walls and woodwork that are frequently in contact with water. - Matte Finish:
Best suited for low-traffic, dry areas. While not as moisture-resistant as glossy finishes, modern matte paints are easier to clean and can provide a sophisticated look.
Selecting the Color
- Neutral Tones:
Soft beiges, light grays, and whites can make the bathroom feel spacious and calming. They’re versatile and pair well with various decor styles. - Bold Colors:
For a more dramatic effect, consider deep blues, greens, or even black. These colors can add depth and personality to your bathroom, creating a striking visual impact. - Bright Colors:
Lighter, brighter colors can invigorate a space, ideal for creating a cheerful, inviting bathroom atmosphere.
Painting your bathroom can be a rewarding project that refreshes one of the most used rooms in your home. With a little preparation and the right choices, you can easily complete this update over a weekend, transforming your bathroom into a refreshed sanctuary.
copyright image by 123rf.com
Bathroom Paint Colors
google imagesReds view ideas Oranges view ideas Yellows view ideas Greens view ideas Blues view ideas Purples view ideas Browns view ideas Grays view ideas Tans view ideas Whites view ideas —— view weekend tips ——
Steps for Repainting Your Bathroom Over the Weekend
Repainting your bathroom can be an efficient weekend project with the right planning and steps. Here’s how you can approach it:
-
Friday Evening:
Preparation is key. Clear the bathroom of movable objects, and lay down drop cloths to protect the floor and fixtures.
Use painter’s tape to cover edges and areas you don’t want to paint, like trim and the ceiling edge. Make sure to ventilate the space well.
-
Saturday Morning:
Start with cleaning the walls with a mild detergent solution to remove any soap scum, mildew, or oils that could prevent the paint from adhering properly.
After the walls have dried, apply primer to ensure an even and smooth finish, especially if you are making a significant color change.
-
Saturday Afternoon:
Once the primer is dry, begin applying the first coat of your chosen paint. Use a brush to cut in around edges and a roller for the broad wall surfaces, working from top to bottom.
Allow ample time for the first coat to dry, depending on humidity and ventilation.
-
Sunday Morning:
Check the first coat for any missed spots or needed touch-ups. Apply the second coat of paint, ensuring even coverage for a professional-looking finish. Again, allow sufficient drying time.
-
Sunday Afternoon:
Once the final coat is thoroughly dry, carefully remove the painter’s tape. Reinstall any removed hardware like towel bars or light fixtures, and move your accessories back into the bathroom.
Enjoy the fresh look of your newly painted bathroom!
copyright image by 123rf.com

- Semi-Gloss and Gloss Finishes:
-
2nd Upgrade: Adding a Smart Mirror for a High-Tech Upgrade
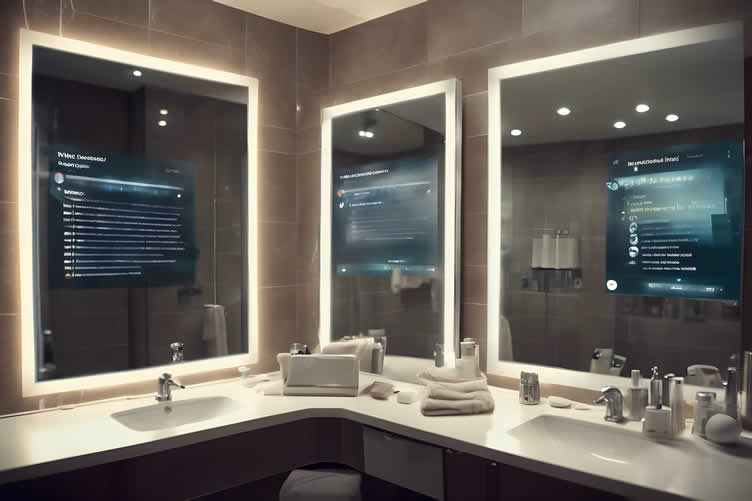
After giving your bathroom a fresh coat of paint, how about replacing your current mirror with a smart mirror that can significantly elevate the room’s functionality and style.
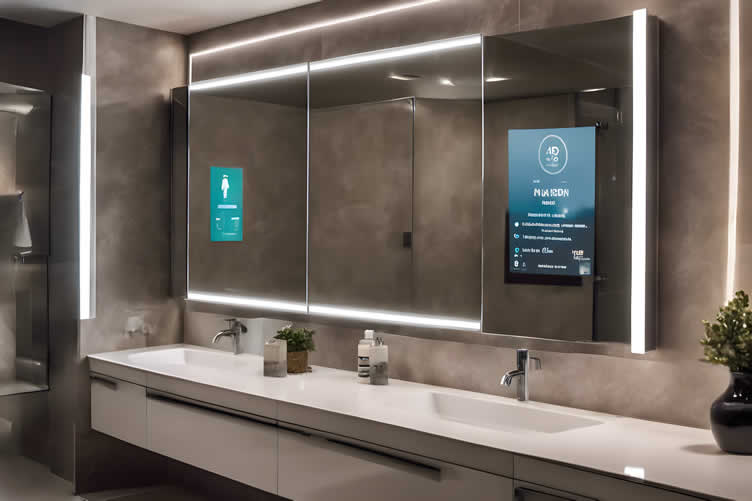
Smart mirrors blend technology with traditional mirror functionality, offering features such as LED lighting, touch screen capabilities, weather updates, news feeds, and even integration with smart home assistants.
This technology doesn’t just save space by consolidating gadgets; it introduces a level of convenience and luxury that can transform your daily routines into more enjoyable experiences.
-
Enhancing Ambiance with LED Lighting
Smart mirrors equipped with adjustable LED lighting can help in creating the perfect ambiance for your bathroom, providing sufficient light for grooming tasks while offering softer hues for relaxing bath times.
The ability to adjust the brightness and color temperature means you can customize the lighting to suit any time of day or mood, enhancing the overall aesthetic and functional appeal of your bathroom.
-
Streamlining Information with Integrated Displays
Imagine getting ready in the morning and having all the day’s essential information displayed right on your bathroom mirror. From weather forecasts and traffic updates to important reminders and news headlines, smart mirrors can keep you informed and prepared for the day ahead without the need to check your phone constantly.
This feature is particularly beneficial for those with busy schedules seeking to optimize their morning routines.
-
Promoting Convenience with Smart Home Integration
The integration of smart mirrors with other smart home devices offers a seamless and convenient user experience. Control smart lighting, adjust thermostats, or even play your favorite morning playlist, all through voice commands or touch interaction with your mirror.
This level of integration can significantly enhance the efficiency and enjoyment of your daily bathroom activities, making it a worthwhile upgrade for any modern home.
AI generated image by 123rf.com
—— view weekend tips ——
Smart (or Other) Mirror: Weekend Installation Guide
Upgrading your bathroom with a smart mirror is a straightforward project that can be accomplished over a weekend. Here is a step-by-step guide to remove your current mirror and install your new smart mirror, along with connecting it to your Wi-Fi system:
-
Removal of the Old Mirror:
- Start by protecting your sink and floor with a soft cloth or plastic sheeting to catch any accidental drops or debris.
- If your mirror is held in place by clips, carefully loosen and remove these first. For mirrors adhered to the wall, use a blow dryer on a low setting to warm the adhesive, then gently pry the mirror away from the wall with a putty knife.
- Once loose, carefully remove the mirror from the wall and set aside for proper disposal or recycling.
-
Preparing the Wall for the Smart Mirror:
- Inspect the wall for any damage or remnants of adhesive and smooth out any imperfections with sandpaper or a wall filler.
- Measure and mark out the exact placement for your new smart mirror, ensuring it is centered and at an appropriate height.
-
Installing the Smart Mirror:
- Follow the manufacturer’s instructions for your specific smart mirror model. This typically involves attaching a mounting bracket to the wall with screws and wall plugs.
- Securely hang the smart mirror onto the mounting bracket, then use a level to ensure it’s perfectly horizontal.
-
Connecting to Wi-Fi:
- Turn on your smart mirror following the manufacturer’s instructions. Locate the mirror’s Wi-Fi settings through its interface.
- Select your home Wi-Fi network from the list of available networks and enter the password when prompted.
- Once connected, follow any additional on-screen instructions to complete the setup, including updating the mirror’s software if necessary.
-
Integration and Customization:
- Explore your smart mirror’s features, such as lighting adjustments, information widgets, and smart home integration. Customize these features to match your daily routines and preferences.
- If your mirror is compatible with voice assistants or smartphone apps, complete these integrations to maximize convenience and control.
AI generated image by 123rf.com
-
-
3rd Upgrade: Change Out the Lighting
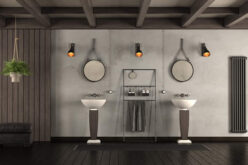
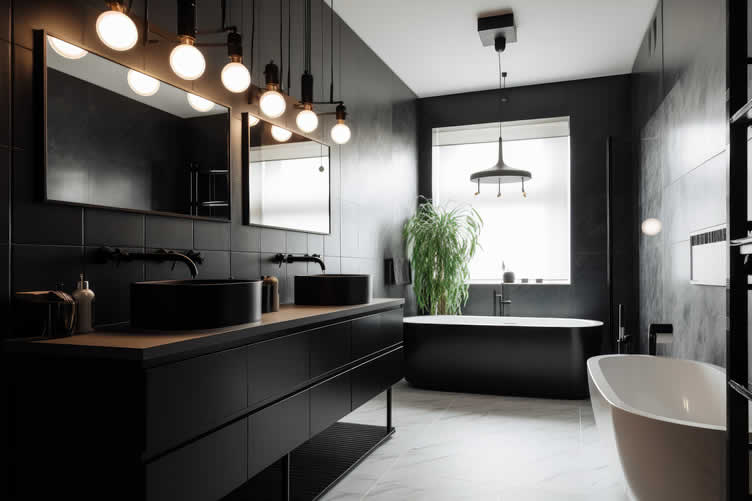
After installing a smart mirror, the next step to enhance your bathroom’s ambiance and functionality is by adding new vanity lights or wall sconces, especially if you’ve opted for an LED mirror.
This update not only improves the aesthetics of your space but also provides better lighting for tasks such as applying makeup or shaving. Well-chosen vanity lighting can complement your smart mirror and elevate the overall design of your bathroom.
Types of vanity lights to try:
-
LED Vanity Lights
These are energy-efficient and offer a range of color temperatures, from warm yellow to cool white, allowing you to customize the mood of your bathroom. LED lights are known for their longevity, reducing the need for frequent replacements.
[ view ideas: led vanity lights ]
-
Wall Sconces
Wall sconces placed on either side of the mirror provide balanced lighting, eliminating shadows on the face. They come in various designs, from modern to traditional, adding a decorative touch while serving a functional purpose.
[ view ideas: bathroom wall sconces ]
-
Hollywood Style Vanity Lights
For those who enjoy a touch of glamour, Hollywood style vanity lights feature a strip of bulbs around the mirror, offering excellent illumination and creating a statement piece in your bathroom decor.
[ view ideas: hollywood style vanity lights ]
-
Pendant Lighting
Suspended from the ceiling, pendant lights can be used to flank the mirror, adding a unique and stylish element to the bathroom. They are available in numerous styles and lengths, making it easy to find a match for your bathroom’s decor theme.
[ view ideas: bathroom pendant lighting ]
By integrating smart lighting solutions or choosing aesthetically pleasing wall sconces, you can significantly enhance the functionality and atmosphere of your bathroom, providing a blend of style and practicality that complements your newly installed smart mirror.
copyright image by 123rf.com
—— view weekend tips ——
Weekend Project: Replacing and Adding New Vanity Lighting
Upgrading your bathroom’s lighting can be an enjoyable weekend project that dramatically transforms the space. Here’s a step-by-step guide to help you from Friday evening through Sunday.
-
Friday Evening: Planning and Preparation
- Research and Purchase:
Spend your Friday evening browsing through various lighting options online or in-store. Keeping in mind the styles discussed, such as LED vanity lights or wall sconces, make your selection based on your bathroom’s decor and functional needs. Ensure you purchase all necessary fixtures and tools for the installation. - Tool Check:
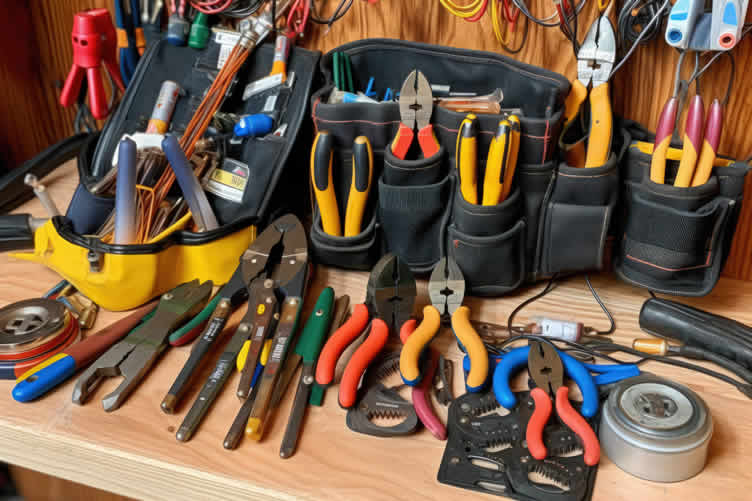
Verify you have all the necessary tools for the job. Commonly needed tools include a screwdriver, drill, wire stripper, and safety glasses. If you’re lacking any, now is the time to borrow or buy them.
- Research and Purchase:
-
Saturday: Installation Day
- Safety First:
Begin your day by turning off the electricity to your bathroom from the main circuit breaker to ensure a safe working environment. - Removal of Old Fixtures:
Carefully remove the existing lighting fixture. This might involve unscrewing the fixture from the wall and disconnecting the wired connections. - Installation of New Lighting:
Follow the manufacturer’s instructions to connect and mount your new vanity lights. This could include attaching the mounting bracket, connecting wires, and attaching the fixture to the bracket. - Test Your Work:
After installation, turn the power back on and test the new lights to ensure everything is working correctly.
- Safety First:
-
Sunday: Final Touches and Cleanup
- Adjustments and Decor:
With the new lighting installed, take a step back and examine the overall look. Adjust the positioning if necessary and consider any additional decorative touches that might enhance the ambiance. - Cleanup:
Once you’re satisfied with the installation, it’s time to clean up. Safely dispose of any packaging materials and the old lighting fixtures. - Relax and Enjoy:
Spend the evening relaxing in your refreshed bathroom space, enjoying the result of your hard work.
- Adjustments and Decor:
The document already contains a detailed weekend plan for installing new vanity lights, outlining steps from preparation on Friday to cleanup and enjoyment on Sunday.
However, if you’re considering adding wired lighting elements like a pendant or wall sconce, here’s a concise guide to seamlessly integrate this project into your weekend makeover:
-
Friday Evening: Planning and Preparation for Pendant/Sconce Installation
- Design and Placement:
Decide on the exact location for your new pendant light or wall sconce. Consider factors like task lighting needs and aesthetic balance in the room. - Electrical Considerations:
Ensure there is an existing electrical connection where you intend to install your new fixture. If not, plan for how you will route power to the new location. Consider consulting with a professional electrician for complex installations.
- Design and Placement:
-
Saturday: Installation of Pendant Light or Wall Sconce
- Turn Off Electricity:
Safety first. Make sure to turn off the power to the area where you’ll be working from the main circuit breaker. - Install Electrical Box:
If installing a new fixture without an existing electrical connection, you may need to install a new electrical box. Follow local building codes and safety standards. - Mount and Connect:
Depending on your fixture type, mount the bracket or fixture base to the wall or ceiling, then connect the wiring according to the manufacturer’s instructions. Use wire nuts for secure connections and ensure grounding is properly done. - Attach Fixture:
Once the electrical connections are made, attach your new pendant or sconce to the mounting bracket or directly to the outlet box, and secure it in place.
- Turn Off Electricity:
-
Sunday: Finishing Touches
- Power and Test:
With the fixture installed, turn the power back on and test your new light to ensure it functions correctly. - Decorative Adjustments:
Add final adjustments to your new lighting. This may involve shortening a pendant light’s chain for the desired hanging length or angling a sconce for optimal lighting. - Enjoy Your New Space:
With your new lighting installed, take time to enjoy the updated look and feel of your space, and appreciate the ambiance these new lights bring to the room.
- Power and Test:
copyright image by 123rf.com
-
-
4th Upgrade: Update the Hardware
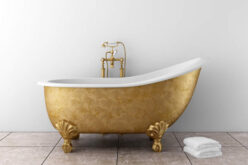
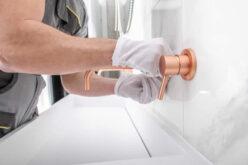
Upgrading your bathroom doesn’t always require a complete overhaul. A simple, yet effective approach is to change out and add new hardware. This can include items like towel bars, shower curtain rods, toilet paper holders, and hooks.
Not only do these changes require minimal effort and expense, but they also have a significant impact on the overall aesthetic and functionality of the space.
-
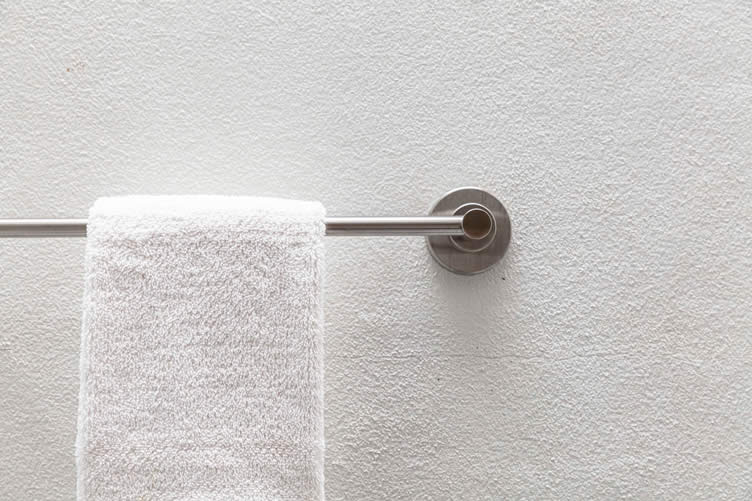
Towel Bars and Rings
- Variety Available:
Towel bars and rings come in various styles, lengths, and finishes. From sleek, modern designs in brushed nickel to more traditional looks in oil-rubbed bronze, there’s a style to fit every bathroom’s theme. - Installation Tips:
Positioning these fixtures at appropriate heights and locations enhances convenience and usability. Ensure they are mounted securely to support the weight of heavy, damp towels.
- Variety Available:
-
Shower Curtain Rods
- Types and Features:
Beyond the standard straight rod, there are curved, double, and tension rods that offer additional space and functionality. Finishes range from chrome to matte black, allowing for personalization of the shower area. - Benefits:
Installing a curved rod, for example, can offer more shower space and add an elegant touch to the bathroom.
- Types and Features:
-
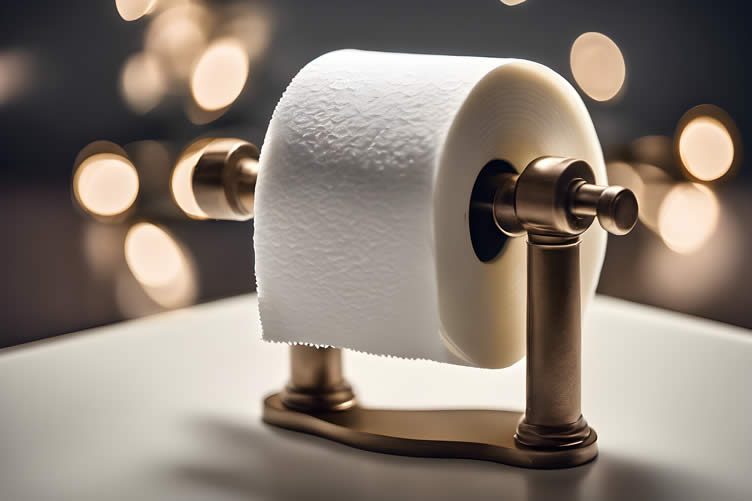
Toilet Paper Holders
- Selection Guide:
Toilet paper holders are not just utilitarian; they’re also an integral part of the bathroom’s design. They come in various mounting styles—freestanding, wall-mounted, or even recessed units for a cleaner look. - Considerations:
Choose a holder that complements the other hardware in your bathroom for a cohesive look. Consider ease of use and changing rolls when selecting a design.
- Selection Guide:
-
Robe Hooks and Towel Hooks
- Functional Décor:
Hooks are a versatile option for bathrooms, offering a place to hang robes, towels, or clothes. They can be single or multiple and are available in matching finishes to coordinate with other bathroom hardware. - Placement:
For maximum efficiency, place hooks at accessible heights near the shower or bath area and by the vanity.
- Functional Décor:
By focusing on these hardware upgrades, you can refresh your bathroom’s look with small, thoughtful changes that make a big difference.
copyright image by 123rf.com
—— view weekend tips ——
Weekend Project Timeline
With the right tools and some basic DIY skills, dedicating a weekend to upgrade your bathroom hardware can lead to significant improvements in both functionality and style.
From sleek towel bars to elegant robe hooks, this guide aims to provide you with tailored advice and a structured timeline to revamp your bathroom’s look over a weekend.
-
Friday Evening: Preparation
- Assess Tools and Materials:
Ensure you have all necessary tools, such as a drill, screwdriver, level, measuring tape, and the new hardware pieces. - Review Installation Instructions:
Familiarize yourself with the installation process for each piece of hardware. This will help you foresee any potential challenges. - Prepare the Space:
Clear the bathroom of any items that might obstruct your workspace. This includes removing old hardware to start with a clean slate.
- Assess Tools and Materials:
-
Saturday: Installation Day
- Morning:
Begin with installing the toilet paper holders and robe hooks. These are generally simpler and provide a good warm-up for the more complex installations. - Afternoon:
Move on to the towel bars and rings. Carefully measure and level each piece before installation to ensure they’re placed correctly and securely. - Late Afternoon:
Tackle the shower curtain rods last. Depending on the type, this step can be slightly more involved and may require additional measurements and adjustments.
- Morning:
-
Sunday: Final Touches and Organization
- Morning:
Reassess all installed hardware for stability and make any necessary adjustments. Tighten any loose fittings and double-check that everything is level. - Afternoon:
Organize your bathroom. Hang towels, robes, and place other bathroom essentials back. This is also a good time to make small adjustments based on usability and aesthetics. - Evening:
Enjoy a well-deserved rest and your newly upgraded bathroom. Take note of any adjustments or additions you might want to consider in the future.
- Morning:
copyright image by 123rf.com
-
-
5th Upgrade: Decorative Faucets and Showerheads
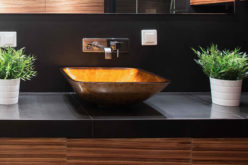
Upgrading your bathroom’s faucets and showerheads to more decorative models is a simple yet impactful way to enhance the overall aesthetics and functionality of your bathroom. Such updates not only elevate the visual appeal but can also offer improved water efficiency and comfort.
When selecting new faucets and showerheads, consider the existing decor to ensure a cohesive look.
-
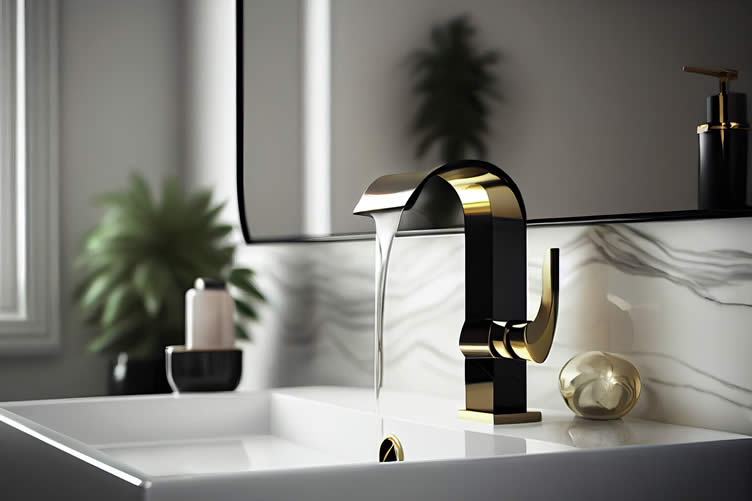
Types of Faucets
- Center-set Faucets:
Ideal for most bathrooms, these faucets are designed for sinks with three holes and feature a single handle or dual handles mounted on a six-inch plate. They come in various styles and finishes, allowing for easy customization. - Single-Hole Faucets:
Perfect for smaller sinks or a modern look, these faucets combine the spout and handle in one unit, requiring only one hole for installation. They are sleek, easy to clean, and available in numerous designs. - Wall-Mounted Faucets:
These are installed directly to the wall above the sink, freeing up counter space and creating a clean, minimalist aesthetic. Wall-mounted faucets require careful planning and installation but offer a unique style statement.
- Center-set Faucets:
-
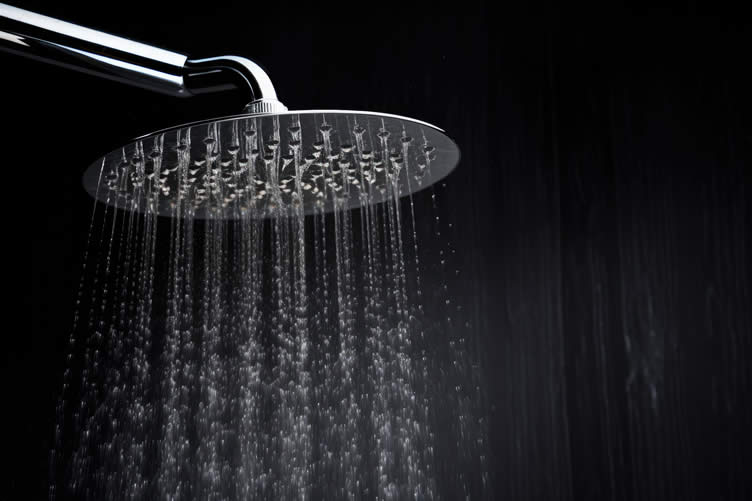
Types of Showerheads
- Rain Showerheads:
Mimicking the experience of standing in the rain, these showerheads offer a gentle, soothing flow. They are typically larger and installed directly overhead, providing an immersive shower experience. - Handheld Showerheads:
Offering versatility and convenience, handheld showerheads are detachable, making it easier to rinse off, clean the shower, or wash pets. They can be mounted at any height and are excellent for families with varying needs. - High-Pressure Showerheads:
Designed for those who prefer a more vigorous shower, high-pressure models maximize water flow, ensuring a refreshing and energizing experience even with low water pressure.
- Rain Showerheads:
By selecting the right type of decorative faucets and showerheads, you can significantly upgrade the functionality and aesthetic appeal of your bathroom, creating a more luxurious and enjoyable space.
copyright image by 123rf.com
Bath and Sink Faucets
google images—— view weekend tips ——
Timeline for Weekend Project: Faucets and Showerhead
Transforming your bathroom into a more luxurious and functional space doesn’t have to be a daunting task. By dedicating just a weekend to update your faucets and showerheads, you can breathe new life into this essential area of your home.
This guide will provide you with a straightforward timeline and step-by-step instructions to ensure your weekend project is successful, enhancing both the efficiency and aesthetic appeal of your bathroom.
Whether you’re aiming for a modern look with a sleek, single-hole faucet or dreaming of a spa-like experience with a rain showerhead, this weekend can turn your bathroom upgrade dreams into reality.
-
Friday Evening:
- Begin with a planning session. Measure your current faucet and showerhead to ensure you buy compatible replacements.
- Turn off the water supply to your bathroom to prevent any accidental spillage.
- Gather all necessary tools for the job such as wrenches, pliers, and plumber’s tape.
- Take this evening to carefully read through instructions that come with your new fixtures to familiarize yourself with the installation process.
-
Saturday Morning:
- Start by removing the old faucet and showerhead. Use the appropriate tools to carefully loosen and detach them, taking care not to damage the pipes.
- Clean the area around where the faucet and showerhead were attached, removing any old plumber’s tape, debris, or buildup that could affect the seal of the new fixtures.
-
Saturday Afternoon:
- Begin installing the new faucet by placing it into position and tightening it securely, following the manufacturer’s instructions.
- Apply plumber’s tape to the threads of the shower arm then screw on the new showerhead, making sure both are tight but not overtightened to avoid damage.
-
Sunday Morning:
- Turn the water supply back on and test both the new faucet and showerhead for leaks. Make any necessary adjustments to ensure a tight seal.
- Take this time to also clean up any mess made during the installation process.
-
Sunday Afternoon:
- With the installation complete and everything functioning properly, take a step back to admire your work.
- Re-organize any bathroom items that were moved during the process, and enjoy the updated look and functionality of your new bathroom fixtures.
copyright image by 123rf.com
-
-
6th Review: Install Smart Toilets with Water-Saving Solutions
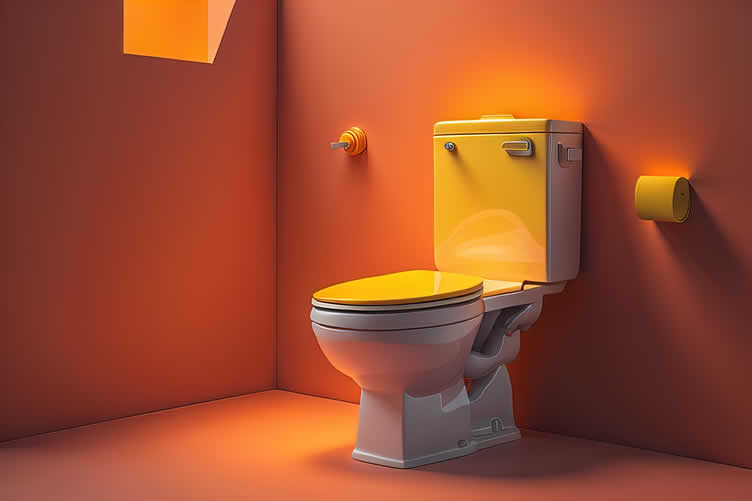
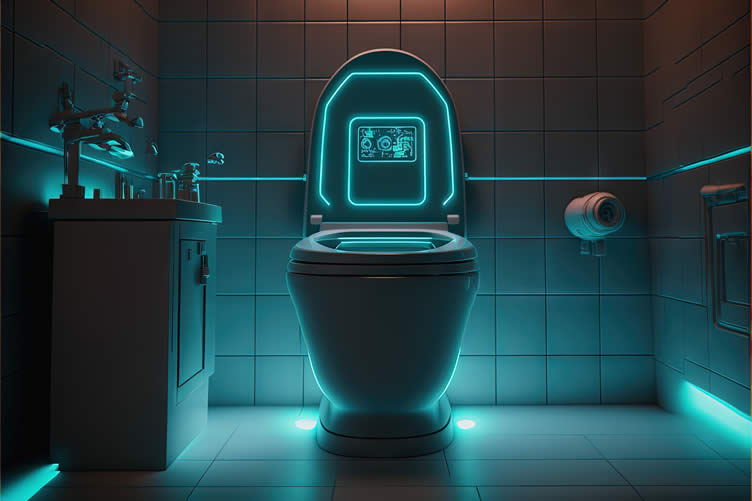
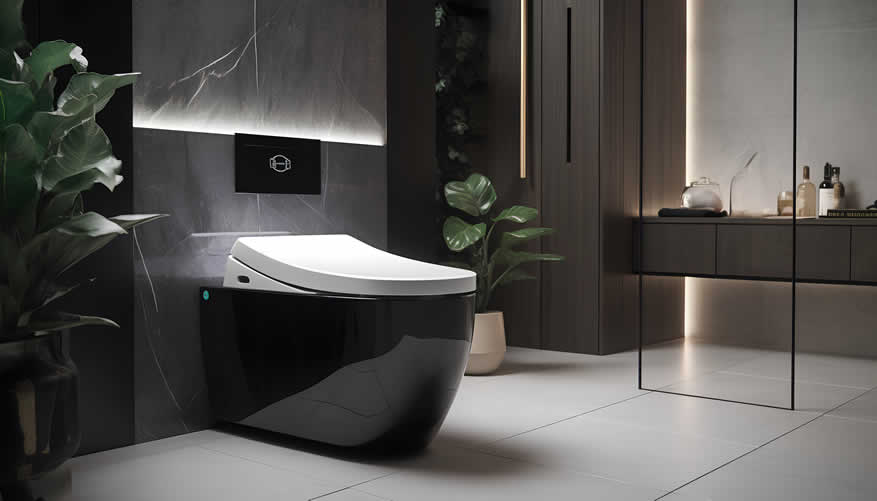
Upgrading to smart toilets is an innovative move towards enhancing your bathroom’s functionality while prioritizing environmental sustainability and cost savings.
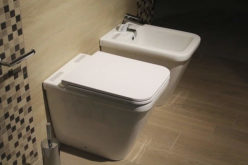
These high-tech commodes come equipped with features such as automatic flush settings that adjust the water volume based on the waste type, touchless flushing to promote hygiene, and built-in bidets that reduce toilet paper consumption.
This smart integration not only elevates the convenience and cleanliness of your bathroom experience but also significantly reduces water usage, leading to lower utility bills. The benefits of smart toilets:
-
Reduced Water Usage:
Smart toilets are designed with eco-friendliness in mind. Their advanced flushing technologies ensure that minimal water is used, which conserves valuable resources and translates to savings on your water bill.
-
Enhanced Hygiene:
Features like touchless flushing and self-cleaning bidet functions help maintain a cleaner and more hygienic bathroom environment, minimizing the spread of germs.
-
Cost-Effectiveness:
Although the initial investment might be higher, the long-term savings on water and toilet paper, along with the reduced need for maintenance, make smart toilets a cost-effective solution.
-
Convenience and Comfort:
With user-friendly interfaces and customizable settings, smart toilets deliver an unmatched level of comfort and convenience, making your bathroom experience more pleasant and hassle-free.
Incorporating smart toilets into your bathroom not only reflects a commitment to modernity and sustainability but also offers a practical solution to achieving both ecological benefits and financial savings.
copyright image by 123rf.com
—— view weekend tips ——
Installation Timeline for Smart Toilets
Installing a smart toilet can be an exciting project that enhances your home’s functionality and sustainability. The process, while straightforward, requires precise steps and can span over a weekend.
Here’s how you can structure your installation from Friday evening through Sunday:
-
Friday Evening: Preparation and Initial Setup
- Research and Purchase:
If not done beforehand, finalize your smart toilet choice and purchase it. Ensure it has all the necessary features you prefer. - Tool Gathering:
Gather all necessary tools for the installation. Typically, this includes wrenches, screwdrivers, a measuring tape, and possibly a drill. - Area Preparation:
Clear the bathroom area. This includes removing the existing toilet and ensuring the area is clean and ready for the new installation.
- Research and Purchase:
-
Saturday: Installation Day
- Morning:
Begin with unpacking your smart toilet and reading the installation guide thoroughly. It’s crucial to understand all the steps and safety guidelines. - Midday:
Disconnect water and remove the old toilet. Prepare the floor and flange for the new installation. It’s a good time to make any necessary repairs or adjustments. - Afternoon:
Install the mounting bracket and the toilet itself according to the manufacturer’s instructions. Ensure it is securely fastened and leveled. - Late Afternoon:
Connect the water supply and the electrical components, if your model requires an electrical connection for smart features. Test these connections for any leaks or issues.
- Morning:
-
Sunday: Finalizing and Testing
- Morning:
Complete any caulking around the base if needed and ensure the area is clean. Double-check all connections. - Afternoon:
Begin the initial testing phase. Use the flush functions, check bidet features, and explore any smart integrations like mobile connectivity or user presets. - Evening:
Review the user manual again to ensure all features are understood and properly set up. Enjoy your new smart toilet and the convenience and sustainability benefits it brings to your home.
- Morning:
AI generated image by 123rf.com
[ view images: smart toilet diagram ]
[ pinterest: smart toilets ]
-
-
7th Review: Adding Additional Storage
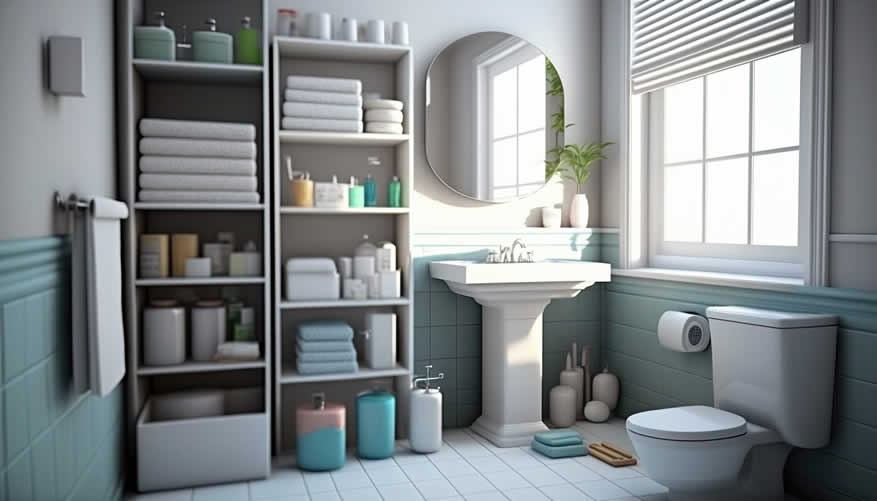
Adding more storage space is a simple yet highly effective way to upgrade your bathroom. It not only helps in reducing clutter but also adds to the aesthetic appeal of the space. Consider innovative storage solutions that blend style with functionality, turning even the smallest bathrooms into well-organized retreats.
-
Floating Shelves
Floating shelves offer a sleek, minimalistic storage option that is perfect for holding toiletries, decorative items, or extra towels. They can be installed above the toilet, beside the vanity, or in any unused wall space. Choose materials and finishes that complement your bathroom’s decor to enhance the overall look.
-
Over-the-Door Organizers
Make use of often overlooked space with an over-the-door organizer. These versatile storage solutions come in various styles and can hold everything from hair styling tools and beauty products to small towels and cleaning supplies. They’re especially useful in bathrooms with limited cabinet or drawer space.
-
Under-Sink Cabinets
If your bathroom vanity lacks built-in storage, consider adding an under-sink cabinet. This can either be a standalone piece designed to fit around plumbing or a custom solution that maximizes the available space. It’s an excellent way to hide away cleaning products, toilet paper, and other bathroom essentials.
-
Wall-mounted Cabinets
For bathrooms that need extra storage without sacrificing floor space, wall-mounted cabinets are an ideal solution. They can be positioned above the toilet or on any available wall space, offering a mix of open shelving, drawers, and hidden compartments. Select a design that mirrors the aesthetic of your vanity for a cohesive look.
-
Utilize Your Vertical Space
Maximize your bathroom’s storage potential by adding shelves or cabinets that utilize wall space. Open shelving can create a modern look and provides easy-to-reach storage for daily necessities, while closed cabinets offer concealed storage for a cleaner aesthetic.
-
Incorporate Baskets or Organizers
In addition to cabinets and shelves, incorporating baskets or organizers onto your countertops can help corral clutter and keep your space tidy. Use stylish woven baskets for a design feature with a practical purpose.
-
Re-purpose Items for Creative Storage Solutions
Don’t be afraid to think outside the box when it comes to bathroom storage. Can a decorative tray on the back of the toilet hold your collection of candles or scented soaps?
Could a tiered fruit basket be re-imagined as a unique earring holder? Consider your space and look for creative ways to re-purpose items into storage solutions.
copyright image by 123rf.com
—— bathroom decor tips ——
Freshening Up with Textiles and Decor
By leveraging the extra storage space gained through carefully chosen shelving, baskets, and re-purposed items, you can now focus on enhancing your bathroom’s ambiance with new textiles and decor.
-
Swap Out Towels and Bath Mats
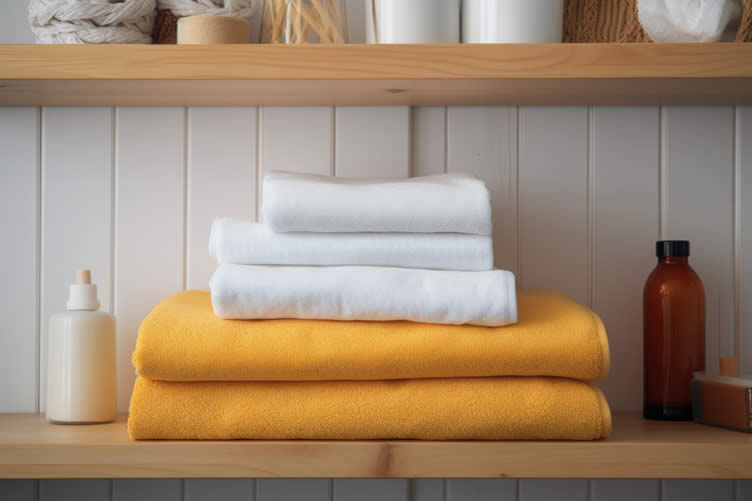
Switching out your old, worn towels and bath mats for new, plush ones in a color or pattern that complements your bathroom’s theme instantly refreshes the space. Stack or roll the towels for an organized and spa-like feel.
-
Add Decorative Elements
Incorporate decorative elements like houseplants, artwork, or scented candles to breathe life into your bathroom. Look for moisture-resistant plants that can thrive in low-light environments, choose calming art prints, and select candles with scents that add to the overall sensory experience of the room.
-
Integrate a Cohesive Color Scheme
Unify the look of your bathroom by integrating a cohesive color scheme throughout your textile choices and decorative elements. This could be as simple as selecting towels, mats, and accessories in shades that complement your existing wall color or selecting a new palette to work around.
copyright image by 123rf.com
—— view weekend tips ——
Weekend Project Timeline
Creating additional storage in your bathroom can be a weekend project that brings both functionality and aesthetic appeal to the space. Here’s how you can tackle this project from Friday evening through Sunday:
-
Friday Evening: Planning and Preparation
- Kick off your weekend project by assessing your current bathroom storage needs. Take inventory of items that need a home, and think about how you might want to organize them.
- This is also the time to measure spaces for shelving units, cabinets, or other storage solutions you are considering.
- Sketch a rough layout of where you would like your new storage to go.
- Once you have a plan in place, create a shopping list of supplies and tools you will need.
-
Saturday: Shopping and Installation
- Begin your day with a trip to the hardware store or home improvement center. Purchase the necessary supplies based on your list from Friday.
- With materials in hand, start the installation process. This might involve assembling shelving units, mounting shelves or cabinets to the wall, or adding hooks and racks.
- Focus on maximizing unused spaces, such as over the toilet, under the sink, or on bare walls.
- Take your time to ensure everything is level and securely attached.
-
Sunday: Organization and Finishing Touches
- Use Sunday to put the finishing touches on your project.
- Organize your bathroom items into their new homes, keeping the most frequently used items within easy reach.
- Consider adding drawer organizers or storage bins to keep smaller items neat.
- Finally, step back and admire your work. You’ve not only added additional storage to your bathroom but also enhanced its functionality and aesthetic appeal.
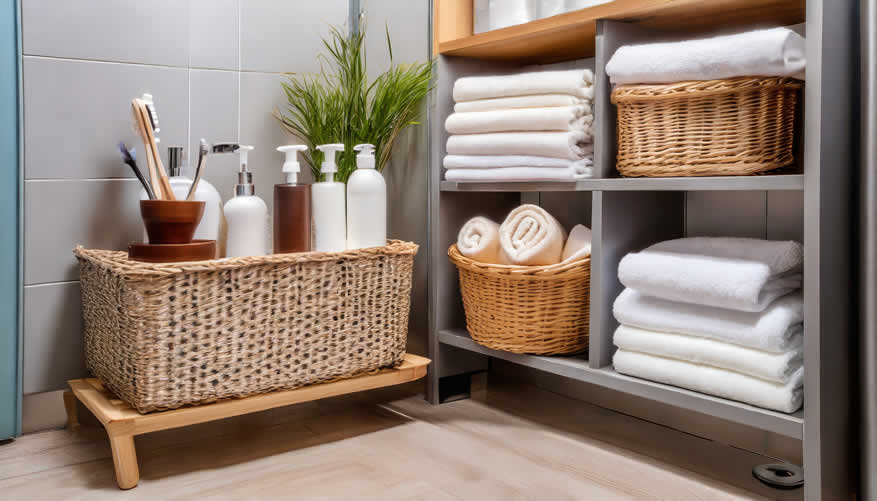
copyright image by 123rf.com
[ view images: bathroom vertical storage ]
[ pinterest: creative bathroom storage ideas ]
-
-
7th Review: Perhaps Change of Flooring
Another impactful yet relatively straightforward upgrade to consider is replacing the flooring. New flooring can dramatically change the look and feel of your bathroom, making it feel fresher and more modern.
Before you choose your new flooring, it’s important to understand the different materials available and how they suit your lifestyle, budget, and design preferences.
-
Ceramic and Porcelain Tile
Ceramic and porcelain tiles are among the most popular choices for bathroom flooring due to their durability and water resistance. Available in a vast range of colors, styles, and sizes, these tiles can easily complement any bathroom design.
Porcelain tiles are denser and less porous than ceramic tiles, making them even more water-resistant and suitable for high-moisture environments.
-
Vinyl Flooring
Vinyl flooring is a cost-effective and versatile option for bathrooms. It’s highly water-resistant and comfortable underfoot. Modern vinyl comes in sheets, planks, or tiles, offering a variety of looks, including those that mimic wood, stone, and ceramic.
Luxury vinyl tile (LVT) and luxury vinyl plank (LVP) are thicker, more durable versions, providing a more upscale appearance.
-
Natural Stone
For those seeking a touch of luxury and elegance, natural stone tiles like marble, granite, slate, or limestone can be an exquisite choice. Each piece of stone is unique, offering rich textures and colors.
However, it’s important to note that stone is porous and requires regular sealing to maintain its appearance and prevent water damage.
-
Laminate Flooring
Laminate flooring provides the look of hardwood or stone but at a lower cost and with improved water resistance. It’s made of several layers, including a photographic applique layer under a clear protective layer, mounted over a composite core.
Modern laminate can be surprisingly resilient in moist environments, especially if you choose a product designed specifically for bathrooms.
Choosing the right flooring for your bathroom can enhance its comfort, function, and style. Consider the moisture level, your budget, and how the flooring will complement your existing décor when making your selection. With the right choice, your bathroom can transform into a more inviting and refreshed space.
If replacing the flooring isn’t feasible due to budget or time constraints, consider upgrading your rugs and floor mats to enhance style and coordination. You can choose rugs that complement the color scheme of the room or opt for floor mats that add a touch of texture and warmth to the space.
By selecting pieces that resonate with your decor, you can elevate the overall look and feel of your home without a complete flooring overhaul.
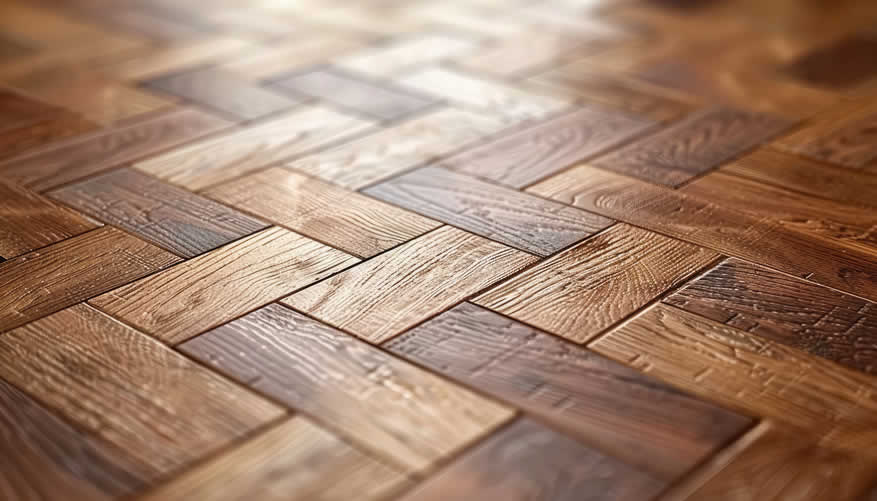
copyright image by 123rf.com
Wood- and Stone-Look Alternatives
google imagesLuxury Vinyl Flooring view ideas – wood-look vinyl view ideas – stone-look vinyl view ideas Large Tile Flooring view ideas – wood-look tile view ideas – stone-look tile view ideas —— view weekend tips ——
Weekend Bathroom Flooring Replacement
Replacing the flooring in your bathroom might seem like a daunting task, but with a little bit of planning and the right tools, it can be a rewarding weekend project. Taking advantage of the weekend allows you to transform your bathroom without the rush, ensuring a meticulous installation.
Whether you’re leaning towards the elegance of natural stone, the warmth of vinyl, or the practicality of laminate, setting aside just a couple of days can significantly lift the ambiance of your bathroom.
-
Friday Evening: Preparation and Planning
- Evening:
Start your weekend project by clearing out the bathroom. Remove rugs, toiletries, and any movable fixtures. This is also the time to evaluate the current flooring and plan the layout of the new flooring. Measure the bathroom area to estimate the quantity of flooring material needed, ensuring to purchase extra for any unexpected adjustments.
- Evening:
-
Saturday: Removing Old Flooring and Preparing the Base
- Morning:
Begin the day by carefully removing the old flooring. Depending on the material, this may involve peeling, cutting, or prying up sections. Remember to wear appropriate safety gear to protect yourself from sharp objects and dust. - Midday:
After removal, inspect the subfloor for damage. Repair any cracks or uneven areas to ensure a smooth installation surface. Apply a waterproof underlayment if necessary, especially important for areas that will be subjected to moisture. - Afternoon:
Begin laying your new flooring according to the manufacturer’s instructions. Whether it’s vinyl, laminate, or stone, make sure to measure twice and cut once. For tiles, apply mortar or adhesive as needed, spacing the tiles with spacers and cutting tiles to fit around fixtures.
- Morning:
-
Sunday: Finishing Touches and Cleanup
- Morning:
Continue with the installation of the remaining flooring. If working with tiles, ensure the adhesive is dry before applying grout. For laminate or vinyl, make sure all pieces are securely connected and trimmed to fit snugly against the walls. - Afternoon:
Apply any finishing touches like sealing or waterproofing as required. Clean up the workspace, removing any debris and tools from the area. Reinstall any bathroom fixtures that were removed, and place back the toiletries and rugs. - Evening:
Stand back and admire your handiwork! Your bathroom has been successfully updated with new flooring, enhancing both its appearance and functionality.
- Morning:
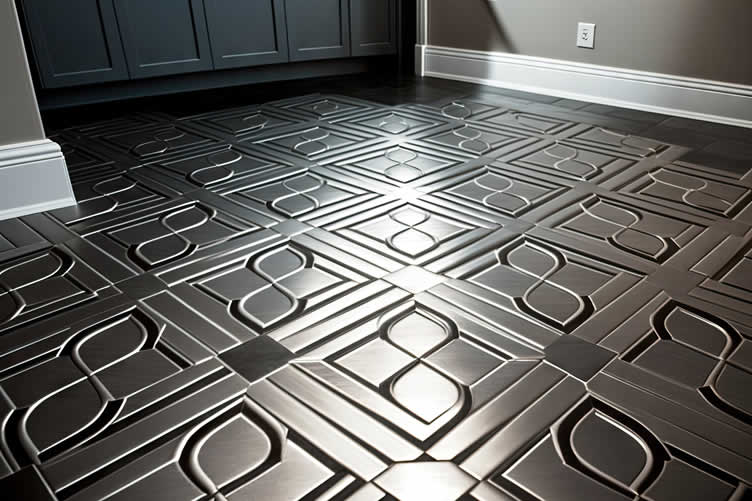
copyright image by 123rf.com
[ youtube: how to remove a bathroom floor ]
[ youtube: how to install floor tile ]
-
-
Conclusion
These simple weekend projects prove that significant bathroom updates can occur without the need to rip everything out. By focusing on key areas such as lighting, storage, and personal touches, you can turn a bland bathroom into a beautiful relaxation haven.
Start with one or two improvements and watch how they can snowball into an entirely different space—one that is much more aligned with your vision.
Remember, the devil is in the details, and a little creativity can go a long way in home improvement, especially when considering a space as personal as your bathroom.
Ready to tackle your bathroom transformation? These projects are a great place to start.
-
Quick scroll to more interior home and decor ideas …

-
ideas to view and compare from the photo above
- What comments can you share about
simple bathroom upgrades that you have done over a weekend?
 … grab this directory of ideas

for the bathroom



you find handyman services
below for …
more “involved” bathroom upgrades



SHARE IT ..! You might have someone in your social network who could find this informative post on simple bathroom upgrades valuable. Feel free to share it on Facebook, Twitter, LinkedIn, or Pinterest!


view illustration “becoming a bank”
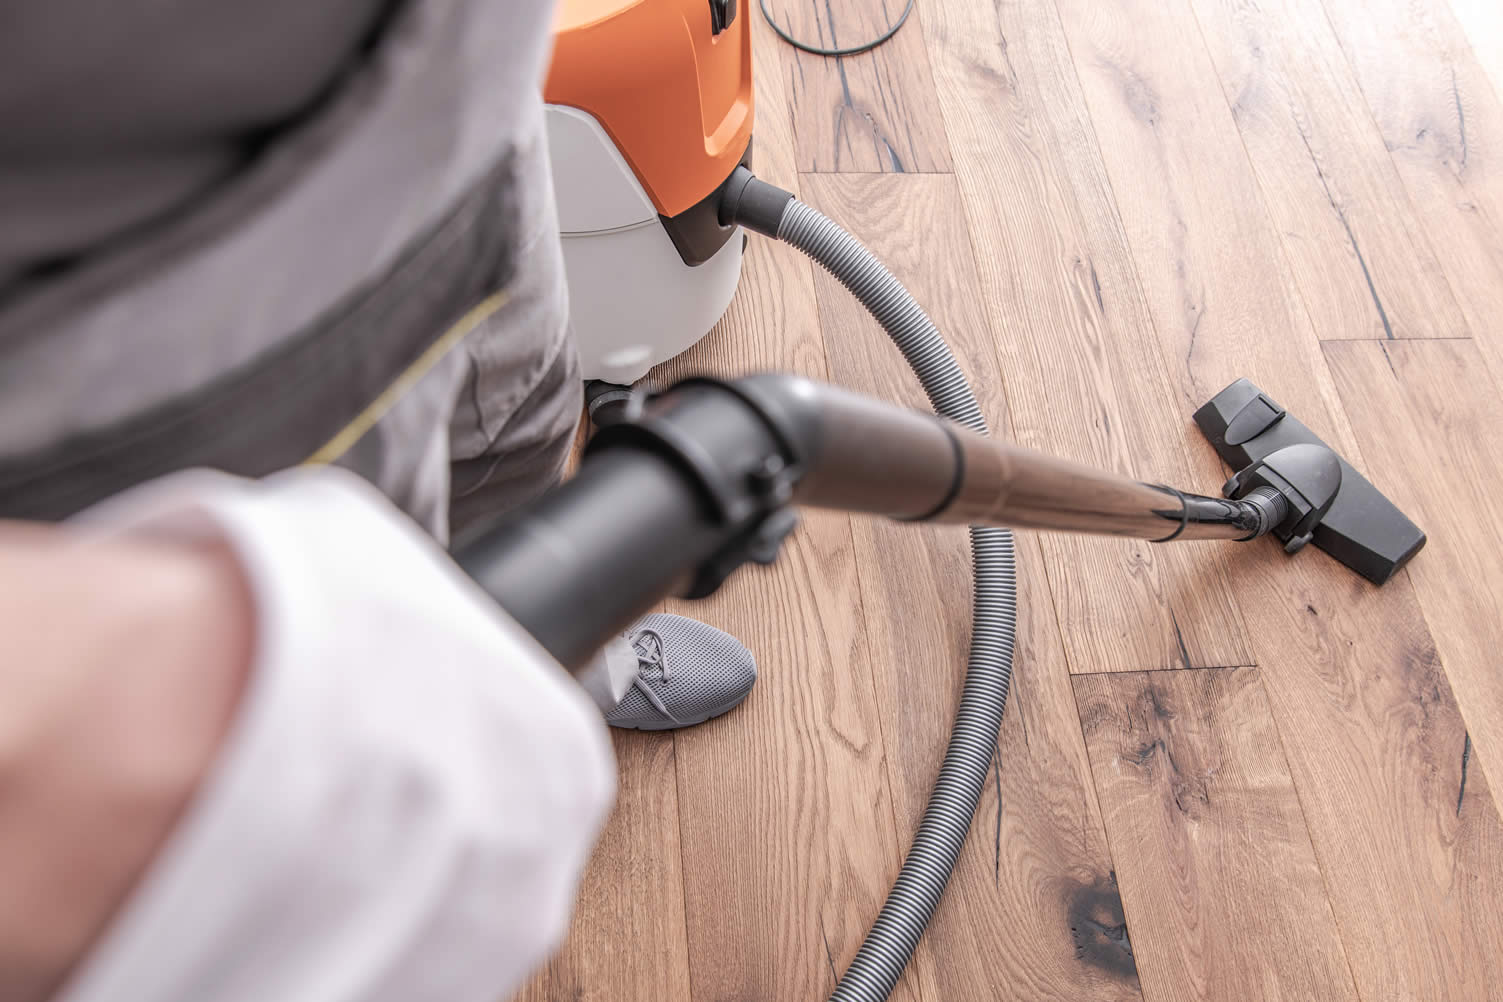

home remodeling – improvement – repair
Find Handyman Services (opens new win) Handyman Carpentry Electrical Plumbing top-rated, pre-screened local contractors FREE: download contractor selection enter zip code – powered by HomeAdvisor ™
Quick Contractor Guides selecting negotiating working with inspecting

Cover image credit: simple bathroom upgrades by 123rf.com
end of post … please share it!
 |
did you find these simple bathroom upgrades analysis helpful? If so, please share the article with your friends and family! |
Nice pic idea? Leave us a quick comment below.
And please share this pic idea within your social networks.