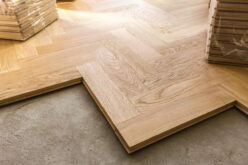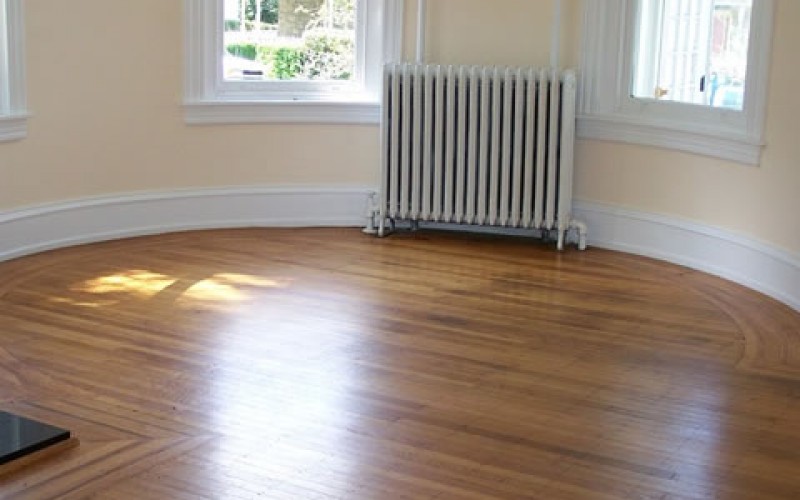
Once you have the right tools and map out a good strategy, you can easily revive a boring or damaged floor and give it the classy look of finished hardware. If you are a beginner, here’s what you need to know about this project before you start.
Preparation is Everything
Unlike other projects where you can move furniture around the workspace, you need to completely empty the room that you’re working on. This will make the process easier and protect your furniture from dust. After the furniture and rugs are out, remove the baseboards and tape plastic over air vents. You should also remove doors so that you can easily reach all parts of the floor. Hang a plastic curtain over exit doors to keep the sanding dust contained. The dust goes everywhere, so you should also remove window treatments, art work and other items from the walls. Finally, check the floor for any stray staples, raised nails or other metal surfaces. These will tear up your sanding pads, so they should be removed or nailed down.
Drum Sander and Edger
You’re going to need a drum sander for the main floor and an edger to get along the walls. Take the time to rent from a specialty shop so that you can ask for advice and get any questions answered. Know the square footage so that you can get the proper number of sanding belts and discs. Make sure your sander has a lever for raising and lowering the drum to avoid harsh marks where you stop or start the machine. As you work across the floor, work with the grain of the wood and use a steady motion. Never let the sander sit in one area. Start with a 36-grit paper. If this isn’t enough to remove the old finish, then you’ll have to lower it to 24- or 16-grit. After you’ve run the drum sander, go around the edges with the edger.
Clean and Check
After the first round of sanding, break out the broom and start picking up the dust. When the floor is clean, it will be easier to see where you still have to stand. Go over the floor again with a higher grit paper to remove swirl marks and smooth the floor. You’ll gradually move through 36-, 60- and 80-grit paper to eliminate scratches and leave the floor perfect. Before you start staining, use a buffer on the floor to eliminate fine marks and ensure that you’re ready for stain.
Staining
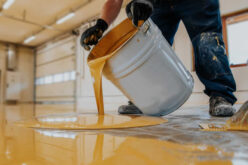
When it comes to the stain, you can use a two-step stain and polyurethane process or go with a product that mixes these into one easy step. It’s a matter of personal preference. The two-in-one combination goes on with a paint brush and dries, but many professionals don’t like the finish as well. If you go with stain and then polyurethane, you’ll want to stock up on clean rags for wiping up excess stain. Use a high-grit of sandpaper in between coats to minimize brush marks and smooth the surface. Clean the dust up with cheesecloth before applying the next coat.
It will take time and a good deal of effort to refinish your hardwood floors, but it’s worth the effort. A beautifully polished wood floor adds value to a home and makes it more attractive. If you aren’t sure that you’re up to the challenge, then start with a smaller room to see if this DIY project is right for you.
|__________________________________________________________|
home remodeling surprise
find out where it might go - new win


Helpful article? Leave us a quick comment below.
And please share this article within your social networks.