Quick Answer:
The best time to plan outdoor lighting is before your patio, walkway, or deck is built, not after. Mapping cable routes, sleeves, and transformer locations while the ground is still open lets contractors cross hardscape without cutting finished surfaces later, keeps your future lighting options open, and saves you from costly rework once pavers or concrete are in place.
By then, the cable routes you need are blocked by concrete, the access points are sealed under pavers, and any lighting work means cutting into surfaces you just finished paying for.
Bringing lighting into the original landscape plan changes that story. When wiring routes, sleeves, and transformer placement are decided before construction closes off access, your electrician or landscape lighting professional can prepare everything while the ground is still open.
Fixtures can go in later, once the planting has filled in and you can see how light will actually move through the space.
This guide walks through what to plan now, what to install first, and how to leave room for the lighting ideas you haven’t thought of yet.
- post content
- The Nighttime Plan Starts Now
- Prepare Cable Routes Before Hardscape
- Choose Low-Voltage Or Line-Voltage Lighting
- Plan Your Transformer Placement Wisely
- Install Fixtures In Phases
- Test And Adjust After Dark
- Preserve Room For Future Lighting
- Light The Yard You’re Building …
- FAQs
- view table:content summary
- view notes:collective tips
- view analysis:4 Solutions for Outdoor Lighting
- price/find:wired outdoor lighting solutions
The Nighttime Plan Starts Now
Before you choose a single fixture, decide what actually needs light. Walk your yard and note the entrances, steps, walking routes, and gathering spaces where someone might need to see their footing or find their way after dark.
According to iScape (2026), when lighting is considered only after patios, walkways, retaining walls, and planting beds are already installed, your options narrow quickly: you’re left lifting pavers, trenching through established beds, working around irrigation lines, or placing fixtures wherever the wiring happens to reach rather than where the light actually works best.
Deciding what needs light, and why, before buying fixtures keeps the project focused. A handful of well-placed lights that highlight a path or a favorite tree will almost always look better, and cost less to run, than a yard scattered with fixtures that were purchased without a plan.

Prepare Cable Routes Before Hardscape
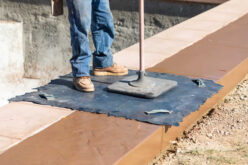
Cable routing is the part of lighting design that becomes expensive to fix after the fact. If your lighting plan calls for fixtures on both sides of a patio, walkway, or retaining wall, that crossing needs to be addressed before the concrete is poured or the pavers are set.
Together Home Remodeling (2026) notes that installing empty sleeves or conduit at planned crossing points is inexpensive insurance while the hardscape is still open, and it can prevent cutting into a finished surface later if lighting, irrigation, or other low-voltage services ever need to cross that area.
Even if your final lighting design is still taking shape, a sleeve placed now preserves a path for cable without disturbing the finished yard later. Underground electrical work should follow local codes and manufacturer requirements, so loop in a qualified electrician or landscape lighting professional before anything is buried.
more info below
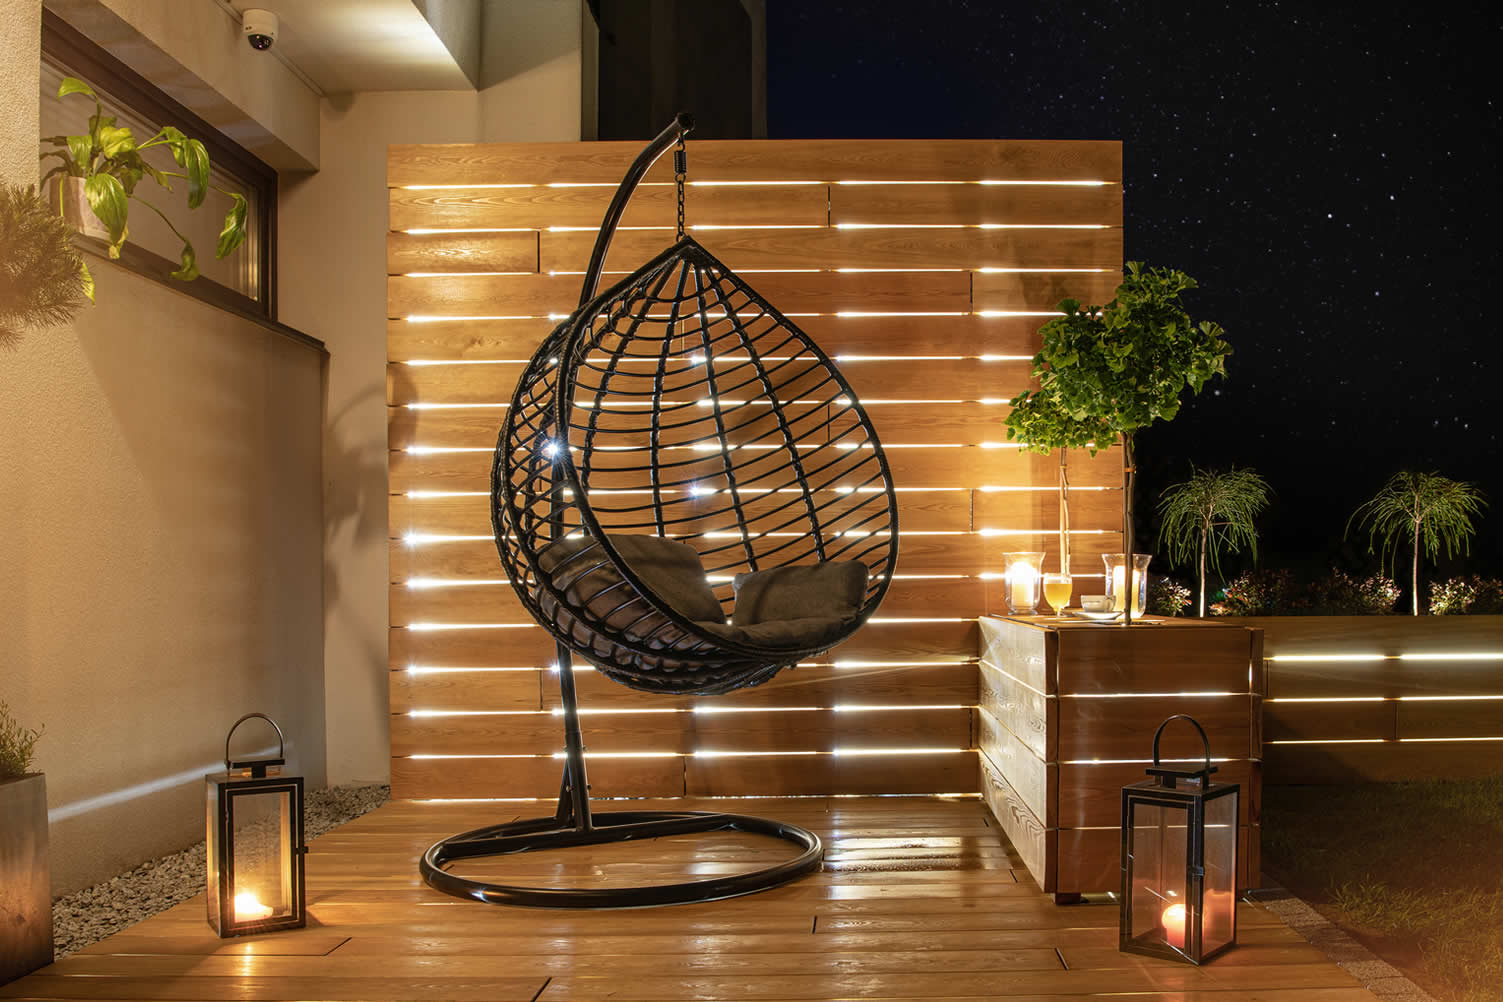
4 Solutions for Outdoor Lighting
Finding solutions for outdoor lighting can be tricky work. It can either be decorative lighting or something more practical, such as security.
Choose Low-Voltage Or Line-Voltage Lighting
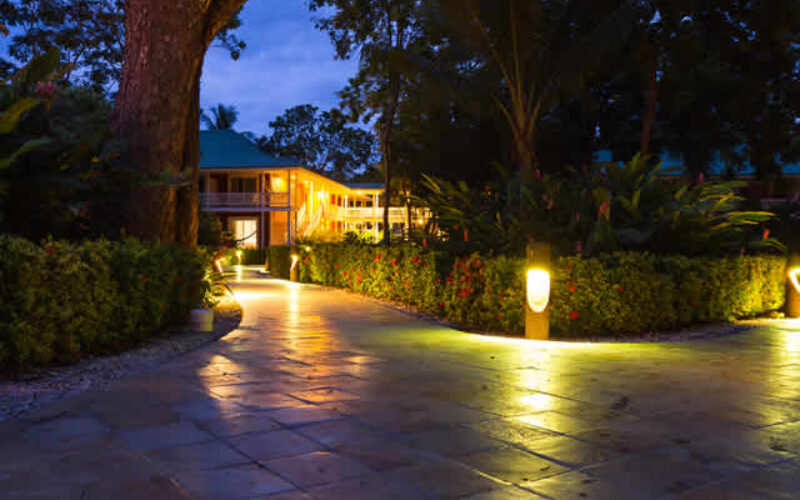
Wired outdoor lighting generally falls into two categories, and the one you choose affects both your cable plan and your budget. Low-voltage systems run on 12 volts and are a natural fit for accent lighting, pathway illumination, and garden features.
Line-voltage systems use standard 120-volt household current and are better suited to brighter, ambient lighting on decks, patios, and entryways.
Knowing which system you need, or whether your plan calls for both, helps determine how much cable you’ll run, how heavy that cable needs to be, and how complex the installation will be. This is a decision worth making early, since it shapes nearly every other choice in the plan.
Plan Your Transformer Placement Wisely
Your transformer converts standard household voltage into the lower voltage your low-voltage fixtures use, so its location matters more than it might seem. Position it near your power source, in a spot that’s protected from weather and easy to reach for maintenance, but tucked out of sight.
Deciding on this location before your hardscape is finished means you won’t be stuck running long cable distances later.
Long cable runs increase voltage drop, which reduces lighting efficiency and can leave fixtures at the far end of a run noticeably dimmer than the ones closer to the transformer. Planning your transformer location and cable lengths together, ideally with your electrician, helps you avoid that imbalance from the start.
Install Fixtures In Phases
Infrastructure and visible fixtures don’t need to go in at the same time, and in many cases they shouldn’t. A phased approach lets you prepare cable routes and sleeves during initial construction, then wait to install fixtures until after landscaping is complete, when you can actually see how plants have grown and how light will move through the finished space.
iScape (2026) recommends a sequence that finalizes the layout first, solves grading and infrastructure needs, plans lighting zones and power routes, builds hardscape with lighting provisions already in place, installs trees and structural plants, adds smaller shrubs and flowers, and only then aims and adjusts the lighting itself.
Within that sequence, prioritize essential routes first, then expand to gathering areas and selected landscape features as budget and time allow.
You also want to plan for mature plant size; a fixture placed beside a one-gallon shrub can be completely hidden within two years if you don’t account for growth.
Test And Adjust After Dark
Lighting that looks right in daylight can look entirely different once the sun goes down, so nighttime testing is an essential step, not an optional one. Focus on aiming, glare reduction, and overall effect rather than simply switching every fixture on.
Use targeted light aimed at specific features instead of broad, flood-style illumination, and choose the lowest useful brightness that accomplishes your goal.
Warmer color temperatures tend to feel more inviting in outdoor spaces and are gentler on nighttime wildlife. Check how the lighting looks from the places people actually spend time, a patio chair, a dining table, a window, even a neighbor’s yard, and leave access for re-aiming or cleaning fixtures down the road.
Installing controls that limit operation to when lighting is genuinely needed reduces both energy use and light pollution.
Preserve Room For Future Lighting
Your lighting plan should account for the yard you’ll have in five years, not only the one you have today. Planning cable routes and power locations before permanent surfaces are finished preserves your ability to add new patios, planting areas, or additional lighting zones later without disturbing what’s already built.
If you’re landscaping in phases, it’s still worth planning lighting for the entire finished yard up front. Preparing a route during the current phase of construction, even for areas you won’t light right away, can save significant disruption when that next phase finally arrives.
Light The Yard You’re Building, Not The One You’re Fixing
Outdoor lighting works best when it’s part of the original conversation about your yard, not an afterthought squeezed in once the hardscape is finished. Map your routes, choose your voltage system, and decide where your transformer will live before a single paver goes down.
Install the infrastructure early, wait on the fixtures until your landscaping has taken shape, and test everything after dark before calling the project complete.
A few thoughtful, well-placed lights installed with a plan will almost always outperform a yard full of fixtures added without one.
Bring a qualified landscape lighting professional or electrician into the conversation as soon as your patio or deck design takes shape, and you’ll spend far less time, and money, chasing cable routes later.
-
Collective Tips
Plan for mature plant size so fixtures aren’t buried by growth. Check glare from patio chairs, dining seats, and windows before finalizing fixture angles.
Choose warmer color temperatures and the lowest useful brightness for a more welcoming, wildlife-friendly yard.
Elevate Your Outdoor Living Space
Your outdoor patio is an extension of your home, a space where functionality meets personal style.
It’s more than just a spot for furniture—it’s where you relax after a long day, entertain friends under the open sky, or enjoy quiet mornings with a cup of coffee.
A thoughtfully designed patio can transform how you experience your outdoor space, balancing comfort and beauty while increasing your home’s overall appeal.
view ideas: Designing an Outdoor Patio (new win)

Frequently Asked Questions
-
When should I start planning outdoor lighting for a new patio or deck?
Start during the initial landscape design phase, before any hardscape construction begins, so cable routes and sleeves can be installed while access is still open.
-
Do I need sleeves or conduit under my patio even if I’m not installing lighting right away?
Yes. Placing empty sleeves at planned crossing points while the hardscape is open is inexpensive insurance and can save you from cutting into a finished surface if you add lighting later.
-
What’s the difference between low-voltage and line-voltage outdoor lighting?
Low-voltage systems run on 12 volts and suit accent, pathway, and garden lighting. Line-voltage systems use standard 120-volt household current and work better for brighter ambient lighting on decks, patios, and entryways.
-
Where should the transformer for my lighting system go?
Place it near your power source, in a location that’s protected from weather, easy to access for maintenance, and hidden from view. Deciding this early avoids long cable runs that reduce lighting efficiency.
-
Can fixtures be installed after the landscaping is finished?
Yes. A phased approach prepares cable routes and sleeves during construction, then adds visible fixtures later, once plants have grown in and you can see how light interacts with the finished landscape.
-
Is solar lighting a good substitute for planning wired cable routes?
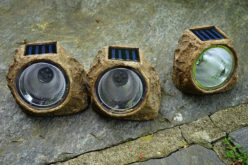
Solar can work for certain fixtures, but choosing it solely to avoid planning wire routes is a common mistake. It limits brightness, placement, and reliability compared to a wired system with a planned route.
-
What happens if I skip lighting planning and add it after construction is done?
Your options become more limited. You may need to lift pavers, trench through established beds, work around irrigation lines, or place fixtures wherever the cable can reach rather than where the light works best.
-
Who should install outdoor lighting wiring and sleeves?
Underground electrical work should follow local codes and manufacturer requirements. Use a qualified electrician or landscape lighting professional, especially for transformer wiring and any crossing beneath hardscape.
-
How do I prevent dim fixtures at the far end of a lighting run?
Plan transformer placement and cable lengths together before construction. Long runs increase voltage drop, so splitting long or heavy runs appropriately helps keep brightness consistent across all fixtures.
home improvement ideas to consider (complete directory – new win):

| Section | Description | Key Points |
|---|---|---|
| The Nighttime Plan Starts Now | Planning outdoor lighting early avoids the challenges of retrofitting after hardscaping is complete. Identifying where lighting is needed ensures functionality and aesthetics. | Walk the yard to identify entrances, steps, and gathering spaces that require illumination for safety and usability. |
| Prepare Cable Routes Before Hardscape | Installing cable routes and sleeves before laying concrete or pavers prevents costly adjustments later. | Position sleeves or conduit before hardscaping begins to enable future lighting installation without disturbing finished surfaces. |
| Choose Low-Voltage Or Line-Voltage Lighting | Low-voltage lighting is ideal for pathways and accents, while line-voltage suits brighter applications like patios or entryways. | Early decisions about voltage type guide cable requirements and installation complexity. |
| Plan Your Transformer Placement Wisely | The transformer’s location impacts efficiency and ease of maintenance. Position it near a power source but out of sight. | Reduce voltage drop by planning transformer placement and cable lengths thoughtfully to ensure balanced lighting. |
| Install Fixtures In Phases | Infrastructure can be installed during construction phases, while fixtures can be added later once landscaping is complete. | Prepare cable routes initially, then adjust fixture placement based on plant growth and lighting needs. |
| Test And Adjust After Dark | Testing lighting effects at night ensures proper placement, angles, and brightness for optimal results. | Focus on targeted lighting and glare reduction while using controls to minimize energy consumption. |
| Preserve Room For Future Lighting | Plan for future expansions by preparing cable routes and power locations even for areas not currently under construction. | Preserve flexibility for adding new features and lighting zones without disrupting completed spaces. |
| Light The Yard You’re Building, Not The One You’re Fixing | Integrating lighting into the initial design process avoids reworking completed spaces and improves outcomes. | Engage professionals early to map routes, select systems, and test the final installation effectively. |

Find Yard n’ Garden Services Landscape Design Landscape Maintenance Sprinkler Systems Water Features Outbuildings Play Equipment Retaining Walls Fences Decks Patio Spas & Hot Tubs Swimming Pools Tree & Shrubs Pest Control Metal Work Steps & Walkways top-rated, pre-screened local contractors FREE: download contractor selection enter zip code – powered by HomeAdvisor ™


Image credit: by envato.com
end of post … please share it!

| more photo remodeling |
Jump Over to Our Photo Analysis Center for Ideas on
"Renovating Home"
|__________________________________________________________|
home remodeling surprise
find out where it might go - new win


Helpful article? Leave us a quick comment below.
And please share this article within your social networks.