first “photo remodeling” idea
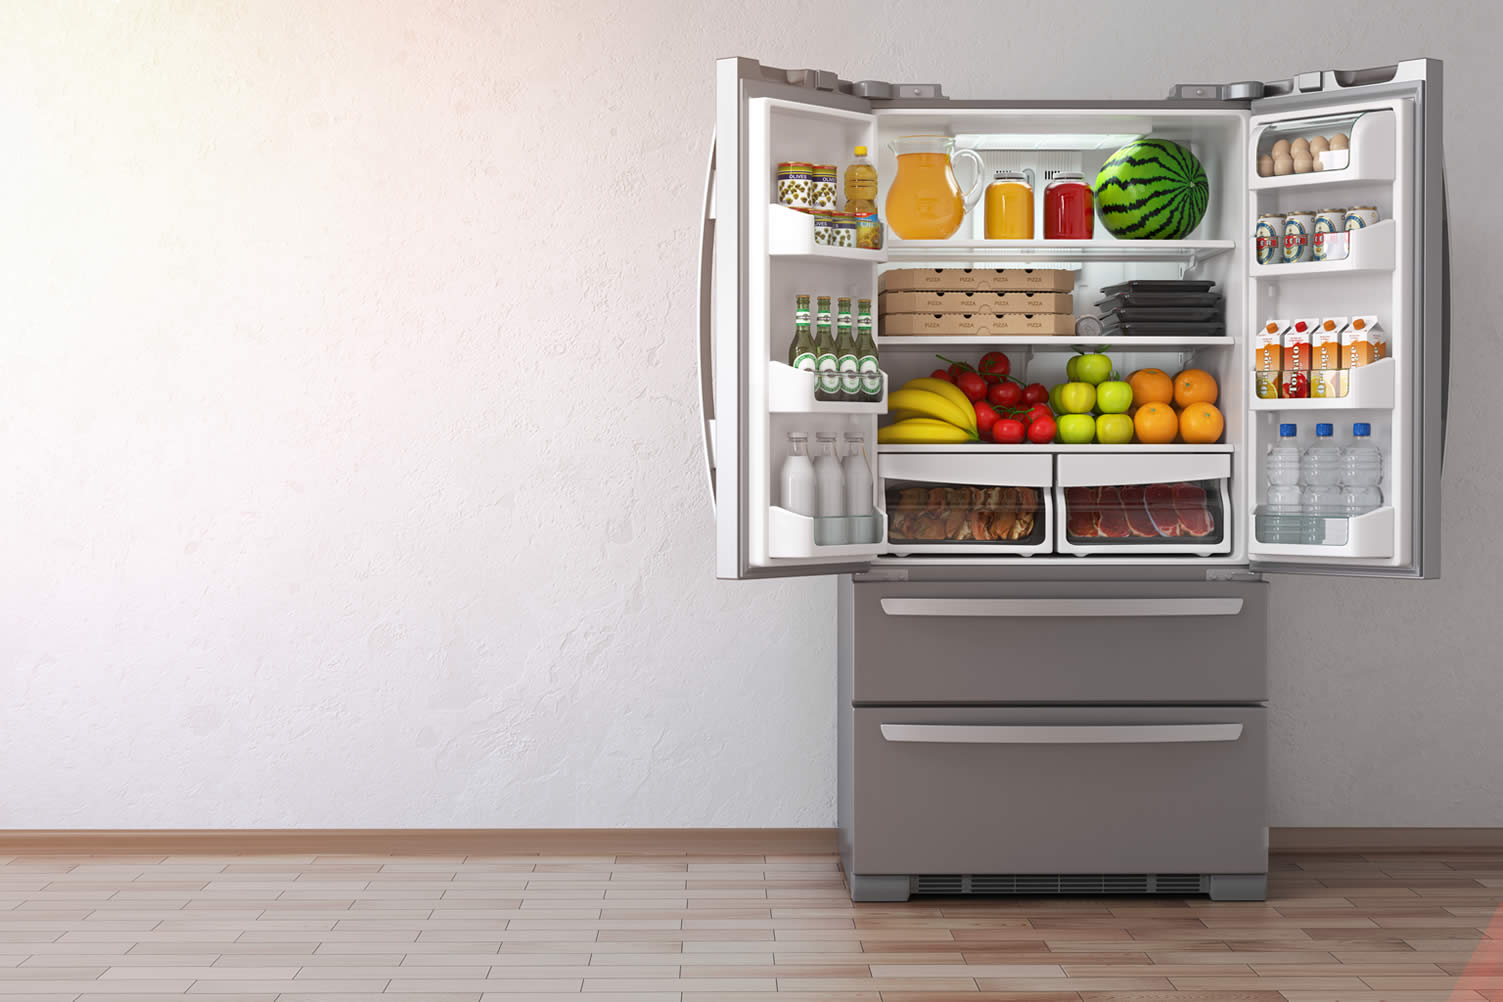

copyright image by envato.com
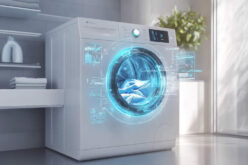
Clean the fridge in 20 minutes with just white vinegar
Notes:
- Refrigerators can get dirty quickly with food spills, spoiled leftovers, expired items, and the constant opening and closing the refrigerator door that tracks in dirt and other bacteria from handling and searching for fridge items.
- Your refrigerator (and the freezer section of the appliance) should be wiped down weekly and cleaned thoroughly every 2-3 months to remove spoiled food items and bad odors.
- Some cleaning tips for refrigerators:
-
Why Stains:
Brown stains in a fridge can be from dirt, rust and food residue.
-
Remove Drawers:
First things first, remove the drawers and wash them separately with hot water and washing up liquid. If they are made of glass and feel cold to the touch, allow them to reach room temperature before running them through hot water to prevent the glass from shattering.
-
Mix-Up Water and Vinegar:
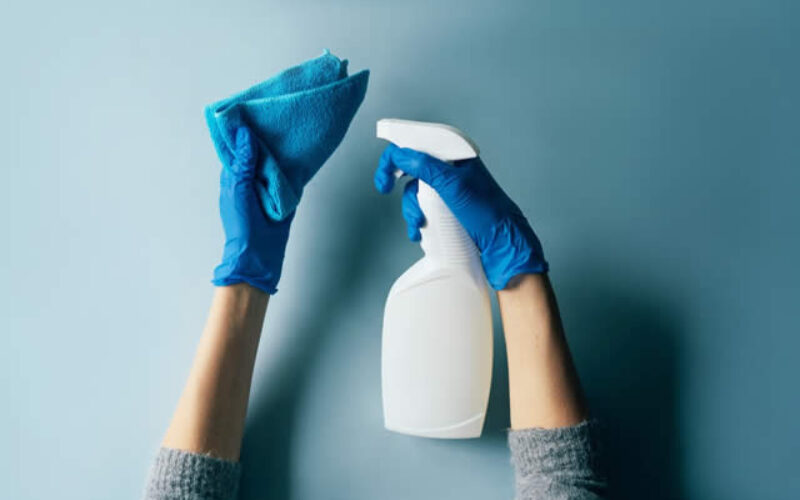
Create a mix of the vinegar with water and spray in the fridge, focusing on stained areas.
-
No Hot Water:
Avoid using hot water when wiping down the fridge as it will mean you need to leave the food out for longer before replacing. Instead, use a mix with cold water.
-
Wipe It:
Wipe everything down with a rag and then add your contents back to the fridge.
-
Add Baking Soda:
Add a box of baking soda for odor-absorbing capabilities. Plan to replace this box every two months to keep you fridge smelling and looking clean.
-
-
Quik scroll to next topic about cleaning household appliances …

-
ideas to view and compare from the photo above
refrigerator linersstainless steel wipesrefrigerator organizers
second “photo remodeling” idea

copyright image by envato.com
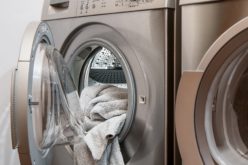
Cleaning the washing machine in an hour
Notes:
- Washing machines are one of the greatest inventions that eased the chore of washing and cleaning clothes. But over time, washers can get very dirty inside with leftover soap residue, minerals, and chemicals – not to mention hair and other debris along with stagnated water in varying drain portals.
- These “washing leftovers” can produce bacteria that makes your washer smell bad; which smells can be transferred to your clothes when you run another cycle. As a general rule, you should regularly clean the inside and outside of your washer.
- Many newer, washing machine models offer a “machine” cleaning cycle – you simply add some bleach and run a cycle to drain completely. That helps somewhat. But at least monthly, you should dive inside to do the following:
-
Remove Loose Parts:
To clean the inside of the machine, remove any parts that you can clean separately – such as the soap tray.
-
Use Toothbrush:
Use a cloth and even a toothbrush to get any residue in the tray. If you cannot remove it, however, you can spray white vinegar on the stains and allow it to work its magic while you focus on other areas.
-
Trapped Items:
Some washing machines also trap hair and other debris that might fall out of your clothes. You can consult the manual to find and also fill with vinegar to clean.
-
Check Blockage:
Additionally, look for any ports that catch other small debris to ensure they are not blocked.
-
Run Cleaning Cycle:
Pour a quart of white vinegar into the drum and set it on a high heat cycle. This will make sure there isn’t any nastiness hidden in your drum.
-
Airdry Washer:
Leave the door open to let your washing machine airdry and wipe down the front with a microfiber cloth.
-
-
Quik scroll to next topic about cleaning household appliances …
-
ideas to view and compare from the photo above
| Supporting Resources (opens new win) | |
| HOW TO: clean washing machine | |
| INFO: washing machine home for bacteria | |
| YOUTUBE: truly clean washing machine | |
May We Suggest Other Photo Remodeling Ideas About
“House Cleaning”
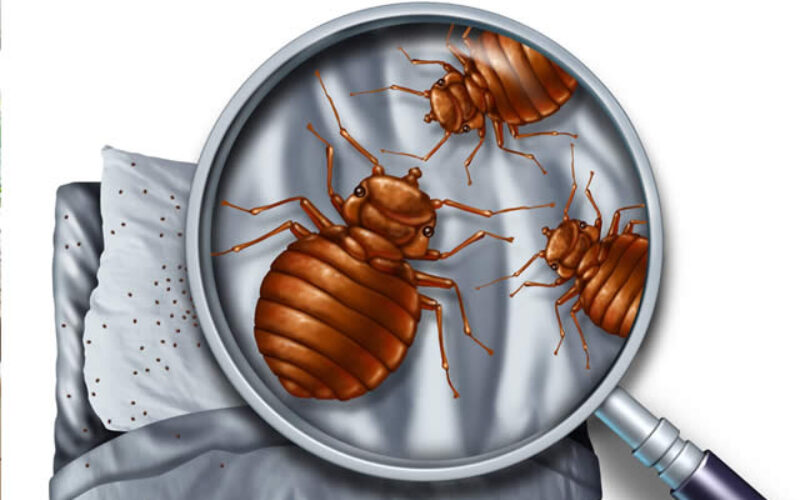
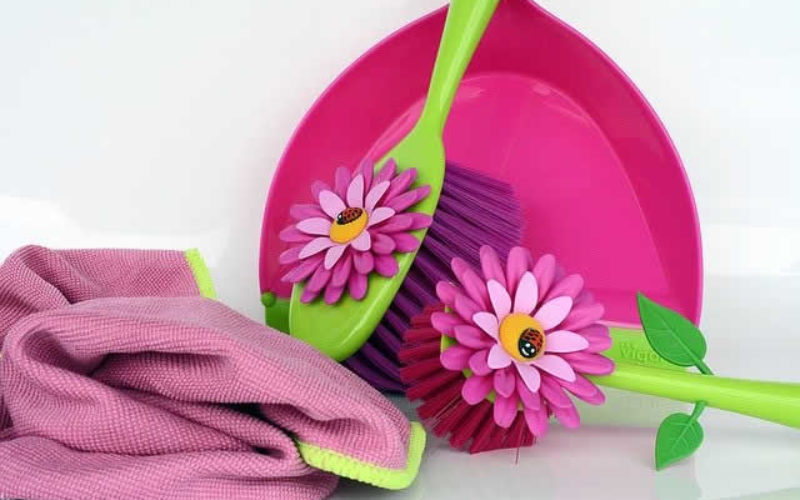
third “photo remodeling” idea

copyright image by twenty20.com
Cleaning the tumble dryer in 10 minutes
Notes:
- Dryers using high heat can wipe out just about anything bacterial that has been transferred from the washer – but you need to run the dryer at high heat for an extended time period. So basically, the dryer remains clean inside – so there is no need to wipe it down.
- However, dryers do produce lint – and a lot of it depending on the type of clothes and linens being dried. Dryers are equipped with a filter and vent that discards the lint. And unless the filter and vent are cleaned regularly, build-up lint over time will make your dryer run less efficiently (driving up the cost of drying) and become a potential fire hazard.
- You should clean the lint filter each time you run a load; and you should periodically check the exhaust vents for lint buildup. Let’s review some dryer cleaning tips below:
-
Unplug Dryer:
Turn off the dryer and clean around the drum area and external surfaces.
-
Remove Lint filter:
Remove the lint filter – you can locate this in your manual – and try to brush off the fluff with your finger. You can check to see if you can run the filter under warm water, which should help if you struggle to remove the fluff.
-
Vacuum Inside:
Vacuum around the filter to make sure you pick up any excess dust or fluff. It’s also worth checking there isn’t any smaller debris that could damage your filter.
-
Check Dryer Vent:
It’s also worth checking the vent – again, which can be found in the manual – to ensure it is in top working condition.
-
-
Quik scroll to next topic about cleaning household appliances …
-
ideas to view and compare from the photo above
| Supporting Resources (opens new win) | |
| INFO: does the dryer kill germs | |
| INFO: benefits of dryer vent cleaning | |
| YOUTUBE: how to clean dryer vent | |
advertisement
fourth “photo remodeling” idea


copyright image by envato.com
Get your oven sparkling in 30 minutes
Notes:
- Newer models of wall and range ovens come with a self-cleaning feature. You simply secure the oven door and turn the setting to clean. The oven will generate high enough heat to burn away any residue and stains.
- The cleaning feature will likely emit smoke and fumes during the process that can be irritating to pets and children. So it best to run the feature when you can open windows and doors to vent the smoke and fumes. Or course, you must still clean the exterior portion of your oven using the cleaning tips below.
- If your oven doesn’t come with a self-cleaning feature, then you will need to shrub it down by hand. While the oven is not, technically, a white good, tombola can reveal that it is Britain’s most hated chore. To clean it, all you need to do is:
-
Coat Stubborn Stains:
To remove stubborn stains, mix white wine vinegar and baking soda into a paste.
-
Spread It Over:
Spread over the inside of the oven and glass door.
-
Let Sit:
Leave for, at least, 30 minutes but ideally overnight.
-
Wipe Clean:
Wipe the entire oven clean. It may require and second coat for stubborn or hard-to-remove stains.
-
-
Quik scroll to analyze other home utility needs …
-
ideas to view and compare from the photo above
- What comments can you share about
your tips for cleaning household appliances
| References (opens new win except noted) | |
| SERVICES: cleaning services (see below) | |
| ASK ABOUT: self cleaning ovens | |
| INFO: why stop using self-cleaning | |
| PLANNING: storage and cleaning (same win) | |
Find Home Cleaning Services Home Cleaning Carpet-Drapes Property Clean-Up Windows top-rated, pre-screened local contractors FREE: download contractor selection enter zip code – powered by HomeAdvisor ™
Quick Contractor Guides selecting negotiating working with inspecting

Cover image credit: cleaning household appliances by Pixabay
end of post … please share it!
 links open new win
or simply search by entering cleaning item or other remodeling need

Nice pic idea? Leave us a quick comment below.
And please share this pic idea within your social networks.