With the winter season approaching, it’s the perfect time to plan your interior painting projects.
This post will guide you through the process, from choosing the right colors to executing a professional finish, ensuring your home improvement efforts yield the best results.
- post content
- Why Winter is the Perfect Time for Interior Painting
- Choosing the Perfect Color Palette
- Preparing Your Home for Painting
- Step-by-Step Guide to Painting Like a Pro
- Budget-Friendly Ideas for Enhancing Your Interior
- Real-Life Transformations
- conclusion
- side idea:Choose the Perfect Color Palette
- view key:collective notes
Why Winter is the Perfect Time for Interior Painting
Winter might seem like an odd time to tackle a painting project, but it actually offers several advantages. First, the cooler weather means less humidity, allowing paint to dry more evenly and quickly. This can be particularly beneficial if you’re working in a space with limited ventilation.
Additionally, many people prefer to stay indoors during the winter months, making it an ideal time to focus on home improvement projects without the distraction of outdoor activities.
Planning ahead for your winter painting project ensures you have ample time to gather necessary supplies and make thoughtful decisions about color and design. By starting now, you can avoid the rush of holiday preparations and enjoy a beautifully updated space throughout the cold months.

Choosing the Perfect Color Palette
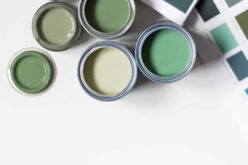
Selecting the right palette is a crucial step in any interior painting project. Colors have the power to influence mood and perception, so it’s essential to choose shades that complement the function of each room.
For example, calming blues and greens are ideal for bedrooms, while vibrant yellows and oranges can energize a kitchen or playroom.
Consider the natural lighting in each space and how it interacts with your chosen colors. Rooms with ample sunlight may benefit from cooler hues, while dimly lit areas can be brightened with lighter, warmer tones.
It’s also important to think about how colors flow from one room to the next, creating a cohesive look throughout your home.
Consulting with a color expert or using online design tools can help you visualize different palettes and make informed choices. Remember, the goal is to enhance your home’s aesthetic while reflecting your personal style.

Preparing Your Home for Painting
Preparation is key to achieving a flawless paint job. Start by thoroughly cleaning walls and surfaces, removing any dust, dirt, or grease that could affect paint adhesion.
Next, repair any imperfections such as holes or cracks with spackle or filler, and sand them down for a smooth finish.
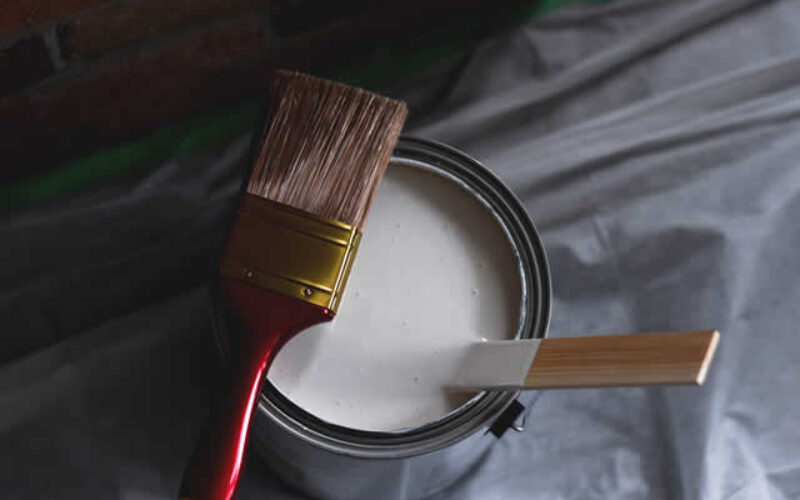
Choosing the right paint and tools is equally important. High-quality paint may cost more upfront, but it provides better coverage and longevity, ultimately saving you time and money. Invest in good brushes, rollers, and painter’s tape to ensure clean lines and even application.
Protect your floors, furniture, and fixtures by covering them with drop cloths or plastic sheeting. Taking these steps will make the painting process more efficient and prevent unnecessary mess or damage.
Step-by-Step Guide to Painting Like a Pro
Now that your home is prepped and ready, it’s time to delve into the step-by-step process of painting like a professional. By following these straightforward steps, you can achieve a polished finish that elevates the look of your space and showcases your design vision.
Each step is designed to ensure efficiency and effectiveness, making your painting project a rewarding experience.
Here’s how to transform your walls with a professional touch:
- Choose Your Paint and Tools:
Select the right type of paint for your surfaces and invest in high-quality brushes and rollers. - Prepare the Room:
Move furniture and cover all surfaces to protect from paint splatters. - Tape Off Areas:
Use painter’s tape to create clean, crisp lines along edges and moldings. - Prime the Walls:
Apply a primer if necessary, especially for drastic colour changes or staining surfaces. - Start with Edges and Corners:
Use a brush to paint edges and corners before rolling the larger areas. - Roll on the Paint:
Use a roller for broad strokes on the walls, applying paint in even layers. - Allow to Dry:
Let the first coat dry completely before assessing if a second coat is needed. - Clean Up:
Remove painter’s tape while the paint is still slightly wet for cleaner lines, and clean your tools thoroughly.
By carefully executing each of these steps, you’ll achieve a beautifully painted room that reflects your personal style and enhances the overall aesthetic of your home.
- Priming: Start by applying a primer to your walls, especially if you’re painting over a dark color or dealing with new drywall. Primer helps paint adhere better and can enhance the vibrancy of your chosen colors.
- Cutting In: Use a brush to "cut in" along edges, corners, and trim where rollers can’t reach. This creates a clean border and prevents paint from bleeding outside the desired area.
- Rolling: With a roller, apply paint to the larger wall areas, using a "W" or "M" motion for even coverage. Work in sections to maintain a wet edge and avoid visible lines or streaks.
- Layers: Apply at least two coats of paint for a rich, even finish. Allow each coat to dry thoroughly before applying the next.
- Touch-Ups: Inspect your work for any missed spots or uneven areas, touching up as needed for a flawless result.

Budget-Friendly Ideas for Enhancing Your Interior
Interior painting doesn’t have to be expensive to make a significant impact. Consider adding an accent wall in a bold color or pattern to create visual interest without overwhelming the space.
Stencils and decals can be used to add intricate designs or textures, providing an artistic touch with minimal cost.
DIY enthusiasts might explore techniques such as sponging, rag rolling, or color washing to add depth and dimension to walls. These methods require minimal additional materials and can be a fun way to personalize your home.
Real-Life Transformations
There’s no better way to inspire your own projects than by seeing successful transformations. From drab to fab, countless homeowners have revitalized their spaces through strategic color choices and clever design tricks. Before-and-after photos showcase the dramatic difference a fresh coat of paint can make.
For instance, a dated living room with beige walls took on a modern, sophisticated look with the addition of deep navy and crisp white trim. Similarly, a small bathroom was transformed into a soothing retreat with soft lavender hues and chic metallic accents.
These examples demonstrate that with the right approach, interior painting can completely change the atmosphere and appeal of your home.
other related articles of interest:
Conclusion
Interior painting is a powerful tool for refreshing your home and expressing your style. By planning your project ahead of the winter season, choosing the perfect colors, and following best practices for preparation and execution, you can achieve stunning results.
Don’t underestimate the impact of a well-painted room; it can uplift your spirits and enhance your quality of life during the colder months.
-
Share Your Insights
Have you completed an interior painting project you’re proud of? We’d love to hear about your experiences and any tips you found helpful.
Join the conversation and inspire fellow DIY enthusiasts by sharing your before-and-after photos and advice in the comments below. Happy painting!
Find Painting Services Painting Staining Texturing Wallcoverings top-rated, pre-screened local contractors FREE: download contractor selection enter zip code – powered by HomeAdvisor ™


Image credit: interior painting projects by envato.com
end of post … please share it!
| more photo remodeling |
Jump Over to Our Photo Analysis Center for Ideas on
"Renovating Home"
|__________________________________________________________|
home remodeling surprise
find out where it might go - new win


Helpful article? Leave us a quick comment below.
And please share this article within your social networks.