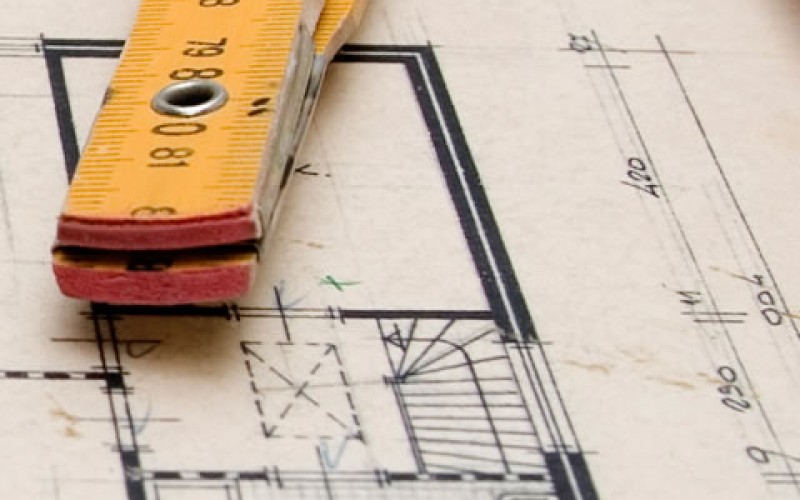
As the project gets started, you are presented with a set of drawings. You’d like to follow along with the project but…what are these things? If you don’t know much about houses and remodels, you might be lost when it comes to looking at blueprints and floorplans. This article is aimed at giving you some basics in understanding blueprints so that you can more fully participate in the changes going on in your home during the remodel.
First Step: What Am I Looking At?
There is more than just one type of blueprint, so first of all, you’ll want to identify exactly what you are looking at. There are three basic types of drawings in construction blueprints:
Plan
This is a drawing looking down on your project, showing things from the floor. It will show the walls, with doorways, windows, and other openings sketched in as though you are looking from the top down, with the roof taken off. This is where you will see the general shape of your remodel, the number of rooms, and the shape of the rooms.
Elevation
This is a view of your project looking at it from one of the sides, marking the direction you are looking from (north, south, east or west) and showing the windows, doors, walls, etc., as standing. From here you can tell how a room will look as you peer into it. It will give you a sense of the room, or how the rooms fit together.
Section
This is a drawing that cuts through a section of a project, showing how it will be built. For instance, this drawing might show the interior of a wall showing the insulation, the structure of how a window will be supported, and how the electrical wiring will be run. This is where you might see how your foundation will be built.
When you first look at a drawing, always ask yourself, am I looking at a plan, an elevation, or a section? This will give you a hint about what the builder is going to talk to you about, and tell you what to look for in the drawing.
Step Two: What’s the Scale?
The Scale is the dimension of measurement in feet and inches, telling how the blueprint is mounted.
For instance, 1” equals 1’ means that one inch in the drawing is equal to one actual linear foot. So in visualizing the drawings reading the scale written on the drawing will help visualize the actualize size.
Step Three: Learning the Symbols
There are all kinds of symbols on drawings and blueprints and they are generally uniform. It’s suggested that you look up online “reading construction blueprints,” and study the symbols for windows, doors, electrical notations, cabinets, and other common symbols, so you understand readily what these are when you see them.
Step Four: Specifications
This is a separate page that contains all the information that cannot be depicted in the drawing. For instance, this may contain information about dates by which a builder expects a subcontractor to have a particular task finished. It may also be where there are notations about what the content of the wiring or concrete is. Anything that can’t be properly noted on the drawings is contained in the specifications.
There is much more to blueprints than can be contained in this article. However, if you can remember that a plan shows you the overall view of your remodel, drawn according to scale, an elevation shows you the side view and a section shows you the “how-to”, you will have a basic understanding of how to read these things. Learn the symbols for the various components of the drawing and you’ll know the language. Above all, don’t overlook the specifications, which have the important details of your job. Most importantly, don’t be afraid to get a quick tutorial on blueprints and floorplans from your contractor—if you express interest in being involved with the project, they’ll be happy to help you more fully understand what is going on.
|__________________________________________________________|
home remodeling surprise
find out where it might go - new win


Helpful article? Leave us a quick comment below.
And please share this article within your social networks.