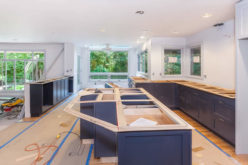
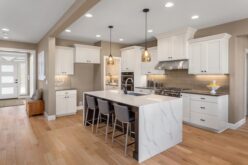
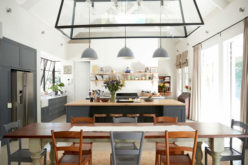
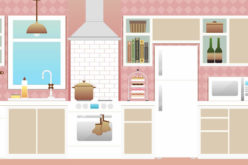
How? By redoing the look of your current cabinetry.
To do that, you do need to have good, sturdy cabinets that aren’t in need of repair. As long as you have that base, these four tips will have your kitchen look entirely different with a little bit of elbow grease and time.
A Coat of Paint, or Two
Cabinetry often takes up some of the most space in the kitchen. That’s why making a simple change can drastically affect the brightness of the room. This painting project, depending on how many cabinets you have, may take about three days and about $200. Some of the materials you may need include a putty knife (to fill any holes and dings), drill, paintbrush, an airless paint sprayer (which will make painting much faster) and a screwdriver.
Before you get started, be sure to clean the cabinets really well and sand them down, as that’ll be key to achieving a smooth coat of paint. You’ll also want to paint the cabinets with primer to make them look the best possible.
Reface the Cabinets
If a paint job won’t be enough to make your kitchen look like new, then you can reface the cabinets instead. This means you’re basically changing the veneer on the cabinet’s frame and refinishing the doors. This process takes more time than painting, but you can truly get a whole new look in your kitchen for about $50 to $175 per cabinet (which is much more affordable than replacing the cabinets outright). For this kind of job, you’re going to need a hammer and nails, straightedge, utility knife, try square and razor, drill and handsaw.
You’re also going to want Post-It notes. Why? So you can easily label which cabinet door goes where when it’s time to reassemble the cabinets. Then, once you’re organized, you’ll start sanding following by the finishing process.
Add Crown Molding to the Cabinets
Cabinet crown molding is often considered part of custom cabinetry, but it doesn’t have to be with a few tricks from This Old House. Installing crown molding will make it look like you have an expensive kitchen, even if it didn’t cost you an arm and a leg.
Although adding crown molding is a DIY project, it is one that takes time and attention. You’ll start by making the frame, attaching that crown to the frame, reinforcing it, mounting it and then finally attaching it. As a last step, you’ll need to scribe-fit the filler strips to make sure there’s no gap between the molding and the ceiling.
Replace the Cabinetry Hardware
Once the actual structure of the cabinets has a new look, another way to easily change the look of your kitchen is to switch out the kitchen hardware. This includes both the knobs (or pulls) on the full cabinets as well as the drawers so that everything matches. To do this, you’ll often only need a simple screwdriver. That said, you don’t have to put your new hardware in the same spot on the cabinet as your old hardware. If you do move the placement, all you’ll need is some putty to seal it up and make it look just right.
Now your cabinets will look like new, all for a much more affordable price. Still want to do more, though? Consider adding a seat under a window using smaller cabinets. It’s amazing what a little creativity can do.
|__________________________________________________________|
home remodeling surprise
find out where it might go - new win


Helpful article? Leave us a quick comment below.
And please share this article within your social networks.