That’s why there are necessary steps for installing a garage door, as provided below.
-
1) Tension Release
As the first step in your garage door installation, you will need to release the tension in the door so that you can work with the pieces. You also want to keep yourself out of harm’s way, and removing the stress from the spring will keep anything from flying out at you or anyone else.
-
2) Disconnect the Door
The next thing to do is disconnect your door, which should be a simple process. Unscrew all screws and bolts and slowly remove your door. Make sure to collect your screws and bolts so that you can reuse them in the new door.
-
3) Install the Panels
Now that you have removed your old door, you can take your measured and cut doorframe panels and secure them to the hinges of the setup. Do this until you have completed the door frame, and you will be ready for the next step.
-
4) Install the Track
Once you get your door assembled and ready, you will want to start assembling your track. This is important because it will need to align with the door to slide along the track when opening and closing.
-
5) Install the Spring Assembly
Using the track, you will want to take the curved pieces of the spring assembly and bolt them to the end of the track assembly. This will house and support the springs when you install them.
-
6) Connect the Tracks
Taking both ends of the tracks and connecting them will allow the system to have the right structure to hold itself up as support. This will also give it the tension it needs to pull the door along the track.
-
7) Install the Springs
On the door header is an open bracket. This is where you want to install your springs. Make sure that when you install your spring, you secure it in place to prevent any incident or injury.
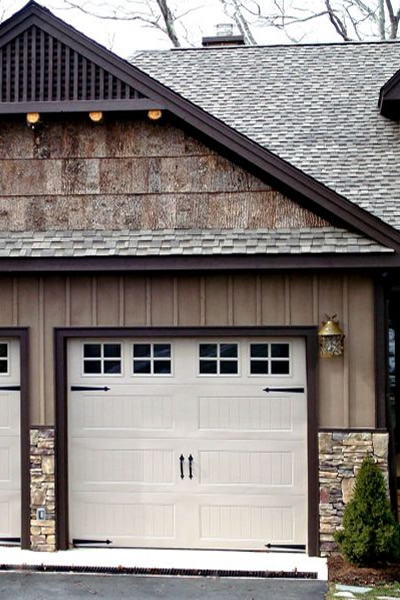

faux wood garage panelswood pattern painting roller
some garage door renovation ideas to consider
-
8) Install the Torsion Rods and Pulleys
Slide your torsion rod into the side headers found at the front end of the track. Once centered and aligned, attach the pulleys, and you’re ready for the next step.
-
9) Attach the Cable
You will now want to pull the cable over the pulleys one at a time. Once on the pulley, turn it to get the slack out, and while holding it in position, tighten the bolt on the pulley with a pair of pliers to secure it in place.
-
10) Tighten the Springs
If you snap a chalk line across the springs, you will know how many times you’ve tightened it. Now, tighten the same way you loosened the door in the beginning, and you’ve finished.
As technical as this job is, it’s straightforward. This falls in line with what you need to know before you decide a garage door is right for your home. If you follow the procedure step-by-step, there is no way you will fail. Therefore, there are necessary steps for installing a garage door so that you can ensure your success.
Find Garage Services Garage Doors Garage Door Openers Driveways Concrete Floor Coating top-rated, pre-screened local contractors FREE: download contractor selection enter zip code – powered by HomeAdvisor ™

Image credit: steps for installing a garage door by twenty20.com
end of post … please share it!
|__________________________________________________________|
home remodeling surprise
find out where it might go - new win


Helpful article? Leave us a quick comment below.
And please share this article within your social networks.