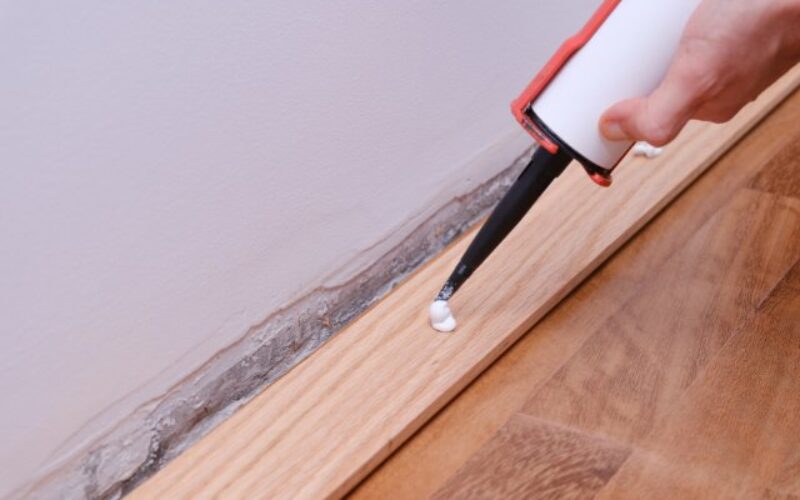

Epoxy remains one of the most trusted products for home repairs because it creates strong bonds across many materials. Homeowners use it to fix furniture, repair cracked surfaces, reinforce household items, and complete remodeling projects with confidence.
Even the highest-quality epoxy, however, performs only as well as the preparation and application behind it. Knowing how to improve the strength and durability of epoxy repairs helps every DIY project last longer while saving time and money.
Proper Surface Preparation Creates a Strong Foundation
Every durable epoxy repair begins with careful surface preparation. Dirt, grease, dust, paint, and loose material prevent epoxy from bonding properly, so cleaning every repair area should come first. Sanding glossy surfaces also creates texture that allows the adhesive to grip more effectively.
After cleaning, allow the surface to dry completely before mixing the epoxy. Moisture weakens adhesion and often causes repairs to fail earlier than expected. Taking extra time during preparation usually delivers better long-term results than rushing into the repair itself.
Choosing the Right Epoxy Makes Every Repair Stronger
Not every epoxy formula works for every project. Some products perform better on wood, while others excel on concrete, metal, plastic, or masonry. Reading the manufacturer’s recommendations helps homeowners select the best option for the materials they plan to repair.
Temperature resistance, cure time, and flexibility also matter when choosing epoxy. Outdoor repairs often require products designed to handle changing weather conditions. Indoor repairs may prioritize appearance, fast curing, or easier sanding after the adhesive hardens.
Accurate Mixing Improves Bond Strength
Most two-part epoxies depend on an exact ratio between resin and hardener. Measuring carefully prevents weak spots that reduce the repair’s overall durability. Guessing the proportions often creates soft, brittle, or partially cured epoxy.
Mix the components thoroughly until the color and consistency appear completely uniform. Continue stirring according to the product instructions instead of stopping early. Proper mixing activates the chemical reaction that gives epoxy its impressive strength.
Applying Even Pressure Helps Eliminate Weak Points
A smooth, consistent application allows epoxy to distribute stress across the repaired area. Thick clumps, trapped air bubbles, or uneven coverage create vulnerable spots that may crack under pressure. Spreading the adhesive evenly helps maximize its performance.
Many projects also benefit from gentle clamping while the epoxy cures. Steady pressure keeps repaired pieces aligned without forcing too much adhesive out of the joint. The result often produces a cleaner finish and a stronger bond.
Tips for stronger epoxy applications:
- Clean every repair surface thoroughly before starting.
- Sand smooth materials to improve adhesion.
- Measure resin and hardener carefully.
- Mix completely before applying.
- Spread epoxy evenly across the repair.
- Clamp pieces securely when appropriate.
- Allow full curing before using the repaired item.
Environmental Conditions Affect Long-Term Performance
Temperature plays a major role in successful epoxy repairs. Most products cure best within a recommended temperature range listed on the packaging. Working in conditions that fall outside those guidelines may slow curing or weaken the finished bond.
Humidity also influences certain epoxy products. Excess moisture can interfere with adhesion and surface appearance during curing. Choosing a dry workspace whenever possible helps produce stronger and more reliable repairs.
Keep the repair area free from direct sunlight, strong winds, and sudden temperature changes while the epoxy sets. Stable conditions allow the material to cure evenly from edge to center. Planning indoor projects during mild weather also helps reduce unexpected environmental factors that could affect the final finish.
Reinforcement Can Increase Repair Durability
Some repairs require additional reinforcement beyond adhesive alone. Fiberglass cloth, reinforcing mesh, or embedded materials can strengthen repairs that experience repeated stress. These additions help distribute loads more evenly across the repaired surface.
Woodworking projects often benefit from reinforcement when repairing broken table legs, chairs, or shelving. Concrete repairs may also require reinforcing materials to handle heavier loads over time. Combining quality epoxy with proper reinforcement creates repairs that stand up to everyday use.
Avoiding Common Application Errors Saves Time
Many DIY repairs fail because homeowners overlook simple details during application. Rushing through preparation or ignoring curing instructions often reduces the repair’s lifespan. Paying attention to each step helps prevent unnecessary frustration.
Many homeowners also benefit from understanding common beginner mistakes when using epoxy glue before starting larger projects. Mixing incorrect ratios, applying epoxy to dirty surfaces, or disturbing the repair before curing frequently causes disappointing results. Learning from these mistakes helps future repairs become stronger and more reliable.
Patience During Curing Delivers Better Results
Waiting for epoxy to cure completely requires discipline, especially during home improvement projects. Many adhesives feel hard long before they reach full strength. Moving repaired items too soon can damage bonds that still need additional curing time.
Manufacturers provide recommended curing times based on normal conditions. Cooler temperatures often extend those timelines, while warmer environments may speed them up slightly. Following those recommendations protects the repair from unnecessary stress.
Avoid placing heavy objects on the repaired surface until the epoxy reaches its full performance rating. Keep the work area free from vibration, accidental bumps, and frequent handling during this stage. Giving the adhesive uninterrupted time to stabilize helps create a more reliable repair that withstands daily household use.
Finishing the Repair Adds Extra Protection
Many epoxy repairs benefit from finishing work after curing completes. Sanding rough edges creates a smoother appearance while preparing surfaces for paint or protective coatings. Proper finishing also helps repairs blend naturally with surrounding materials.
Outdoor repairs often last longer with paint, sealers, or UV-resistant coatings. These protective layers shield epoxy from sunlight, moisture, and everyday wear. Small finishing touches frequently add years to the life of a completed repair.
Routine Maintenance Keeps Repairs Looking Their Best
Even durable epoxy repairs benefit from occasional inspection. Checking repaired areas allows homeowners to spot small issues before they become major problems. Addressing minor damage early often prevents larger repairs later.
Cleaning repaired surfaces with appropriate household cleaners also helps preserve their appearance. Avoid harsh chemicals unless the manufacturer recommends them for cured epoxy. Simple maintenance allows quality repairs to remain attractive and dependable for many years.
Smart Techniques Lead to Longer-Lasting Repairs
Strong epoxy repairs enhance strength and durability while combining quality materials with careful workmanship. Clean surfaces, accurate mixing, proper application, and full curing all contribute to a durable finished result. Homeowners who focus on every step often enjoy repairs that withstand years of regular use.
Home remodeling projects rarely succeed through shortcuts alone. Taking extra care during epoxy repairs protects countless household items from future damage. Applying these proven techniques helps every DIY repair deliver greater strength, longer durability, and lasting confidence.
Image Credentials: DavidIgSu, 1967281444
|__________________________________________________________|
home remodeling surprise
find out where it might go - new win


Helpful article? Leave us a quick comment below.
And please share this article within your social networks.