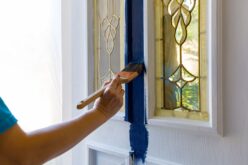

You finally settle on a shutter color that looks gorgeous against your home’s exterior. The paint goes on beautifully at first, but once everything dries, the slats look uneven, and the edges feel rough. That little weekend makeover suddenly needs another round of attention.
Shutters have narrow surfaces and decorative details that make them trickier to paint than they first appear. Knowing these five common mistakes when painting exterior shutters can help you avoid disappointing results and make better project decisions. Before you open a paint can, consider where these seemingly simple updates tend to go wrong.
1. Treating Every Shutter Material the Same
A shutter’s material affects how it responds to paint, but it’s easy to overlook that detail when you’re focused on the right color.
Wooden shutters have a different surface texture than vinyl, while metal shutters may develop corrosion beneath an aging finish. Each material presents its own challenges, and a coating that works beautifully on one might struggle on another.
For example, some vinyl shutters have manufacturer-specific painting restrictions. Choosing an incompatible product may affect adhesion, while certain dark colors can increase heat absorption and cause distortion.
Wooden shutters introduce another consideration because exposed areas may absorb moisture. If the existing paint has started peeling around the joints, covering those sections won’t correct the underlying problem.
What Should You Check Before Buying Paint?
Look beyond the color swatch and examine the shutters themselves:
- Material: Identify whether you’re working with wood, vinyl, or metal.
- Existing finish: Check for peeling paint or signs of corrosion.
- Manufacturer guidance: Confirm whether the shutter design allows repainting.
- Coating requirements: Select a compatible exterior paint and primer when necessary.
If your shutters have a factory-applied finish, check whether the manufacturer recommends a particular coating system. Some products require special preparation, while others may not support repainting.
2. Overlooking the Small Areas Where Paint Fails First
The broad face of a shutter usually gets the most attention, but the smaller details often reveal whether a paint job will hold up.
On wooden shutters, inspect the joints where the rails meet the frame. Moisture can enter exposed gaps, particularly when older coatings have cracked or pulled away from the wood.
Louvered designs create another challenge because dirt collects along the narrow spaces between slats. Painting over that buildup can leave a rough finish, even when the rest of the shutter looks smooth.
Before painting, wash the shutters with a suitable cleaner and allow them to dry thoroughly. Examine the edges and remove loose paint using methods appropriate for the material.
If you notice deteriorated wood, address the damage rather than covering it with another coat. Paint improves appearance, but it won’t restore weakened material.
Pay attention to the back of the shutter as well, especially if you plan to remove it. Accessible surfaces may need attention to maintain consistent protection against moisture. Older coatings may contain lead, so check applicable safety guidance before disturbing paint on historic shutters.
3. Choosing a Color Without Considering the Sun
A color that looks beautiful on a sample card can behave differently once you apply it to an exposed exterior surface.
Sunlight affects how colors appear throughout the day, and prolonged ultraviolet exposure can gradually change some paint finishes. A rich shade may look striking at first but lose some of its original intensity as the coating ages.
Heat creates another concern, particularly with certain vinyl shutters. Dark colors generally absorb more solar energy than lighter shades, which can raise the surface temperature beyond what the material can tolerate.
Before committing to a dramatic color change, check the shutter manufacturer’s restrictions and the paint manufacturer’s recommendations. Some coating lines offer colors formulated for particular vinyl applications, but suitability depends on the specific product.
Protecting exterior paint from sun fading also deserves consideration when shutters face strong sunlight for much of the day—a coating’s exterior durability and color retention matter as much as its initial appearance.
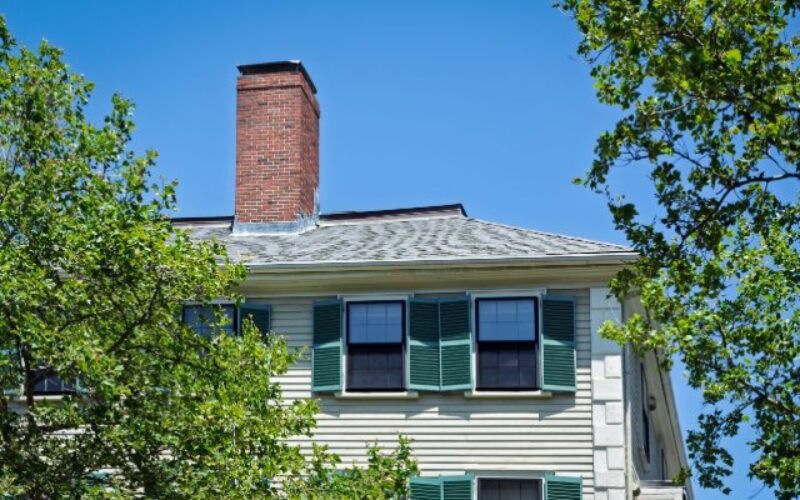
Test your chosen color on a small, inconspicuous area when the manufacturer permits it. Observe the shade in different lighting conditions before painting every shutter. Remember that the surrounding wall color can influence how your shutters look. A dark green might appear softer against warm brick than it does beside bright white siding.
4. Letting Paint Collect Around Slats and Hardware
A freshly painted shutter should retain the details that give it character. Unfortunately, heavy paint applications can soften decorative edges and leave unwanted buildup around narrow openings.
Louvered shutters present a particular challenge because paint can gather where each slat meets the surrounding frame. Once those thick areas dry, they may leave visible ridges that interrupt the shutter’s clean appearance.
Movable shutters introduce another concern. Paint that reaches hinges or operating mechanisms may interfere with their movement, especially when several coats accumulate over time.
Use a suitable brush to work along narrow sections and apply thin coats according to the product instructions. Check the lower edges of slats for drips before the paint begins drying.
If your shutters have operable louvers, avoid bridging moving joints with paint. Follow the shutter manufacturer’s guidance for protecting those components during refinishing.
Why Brush Size Matters
A large brush may cover broad panels quickly, but it can leave too much paint in recessed details. A smaller angled brush offers better control around decorative profiles.
For flat sections, a small roller may help create an even finish. However, avoid forcing paint into narrow joints to achieve complete coverage in one pass.
Let each coat dry for the recommended interval before continuing. Rushing the next application may disturb the existing layer and create an uneven texture.
5. Forgetting How the Shutters Will Go Back Together
Removing shutters can make painting easier, but the process introduces a detail that homeowners sometimes overlook: reinstallation.
Shutters that look identical from the street may have different mounting arrangements. Mixing up hardware or reversing their positions can turn a simple finishing task into a frustrating puzzle.
Before removing anything, photograph each shutter and its fittings. Label the shutters discreetly so you know which window they belong to when the painting ends.
Inspect hinges and fasteners while you have access to them. Corroded hardware may need replacement, particularly if rust has affected how securely the shutter attaches to the wall.
If you plan to paint around installed shutters instead, protect the surrounding wall and window trim. Narrow gaps near mounting points often require a smaller brush to avoid accidental marks.
Reinstallation also requires patience because paint can feel dry before it’s hard enough to handle. Follow the coating manufacturer’s instructions rather than assuming the shutters can return to the wall immediately.
For functional shutters, check that the panels move freely after reinstallation. Paint buildup or misaligned hardware can interfere with operation.
Make Your Shutter Makeover Worth the Effort
Common mistakes when painting exterior shutters often involve details homeowners don’t notice until the project is underway. Material restrictions can affect paint selection, while narrow joints demand more attention than broad surfaces.
A successful makeover begins with understanding the shutters you already have. Their construction determines which preparation methods make sense and where application problems are most likely to appear.
Before choosing a color, inspect the existing finish and consider how the shutters function. Those observations can help you avoid unnecessary repairs and preserve the architectural details that make your windows distinctive.
Freshly painted shutters should enhance your home’s appearance without drawing attention to drips or uneven edges. With careful decisions throughout the project, you can enjoy a polished exterior update that feels worth the weekend you invested.
Image Credentials: Photographer: Baharlou File #: 119443624
|__________________________________________________________|
home remodeling surprise
find out where it might go - new win


Helpful article? Leave us a quick comment below.
And please share this article within your social networks.