The process might seem daunting, but with the right preparation, tools, and guidance, it can be a fun and rewarding project. So, grab your measuring tape, power drill, and safety glasses!
Plan and Prepare
One of the essential steps in installing wooden beams is to plan the layout and prepare the ceiling surface. Measure the length, width, and height of your ceiling to determine the spacing and length of the beams. Use chalk or masking tape to mark the positions of the beams and visualize the final look.
It’s crucial to check for any electrical wires or plumbing pipes running through the ceiling before drilling the holes. It’s also essential to prepare the ceiling surface by removing any debris, dirt, or flaking paint with a scraper and sandpaper. A smooth, clean surface will ensure a tight and sturdy fit for the beams.

Choose the Right Wood
The type of wood you choose for your beams can significantly affect the durability, look, and feel of your ceiling. Some popular options include cedar, pine, oak, and Douglas fir.
- Cedar is known for its natural resistance to moisture, rot, and insects, making it ideal for bathrooms and outdoor areas.
- Pine is a versatile and affordable option, but it’s softer and prone to dents and scratches.
- Oak is a robust and durable hardwood with a beautiful grain pattern but comes with a higher price tag.
- Douglas fir is a strong and long-lasting wood that often features knots and a rough texture, giving it a rustic appearance.
Whichever wood you choose, make sure it’s properly dried and free of cracks or splits.
Use Wood Brushing
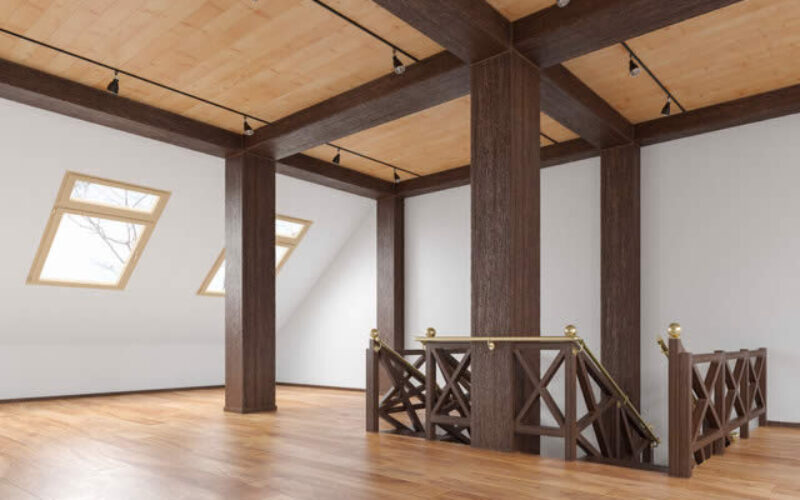
Wood brushing is a technique that can enhance the natural beauty and texture of wooden beams. It involves using a wire brush or sanding tool to rough up the wood surface, creating a distressed and vintage look.
Wood brushing can also help to remove any remaining paint or varnish and smooth out rough edges. However, it’s essential to take precautions when brushing wood, such as wearing protective gloves, goggles, and a mask to avoid inhaling dust or splinters.
You can also experiment with different brushing patterns, such as vertical, horizontal, or diagonal strokes, to achieve different effects. Additionally, wood brushing can be done by professionals.
Install the Beams
Now comes the fun part – installing the wooden beams! Start by drilling pilot holes through the marked positions on the ceiling using a drill bit slightly smaller than the screws. Then, position the beams over the holes and use wood screws to attach them firmly to the ceiling joists.
It’s crucial to make sure the beams are level and flush with each other, using a spirit level and wood shims if necessary. Once the beams are secure, use wood filler to cover any visible screw heads or gaps and sand the surface smooth. Finally, you can stain or paint the beams to match your preferred color and finish.
Enjoy the Results
Congratulations, you did it! Installing wooden beams to your ceiling can be a challenging but rewarding task that adds character and warmth to your home. Take some time to admire your hard work and enjoy the cozy atmosphere it creates. You can also decorate the beams with hanging plants, fairy lights, or artwork to further personalize the space.
other related articles of interest:
Installing wooden beams to your ceiling can be a fantastic DIY project that transforms your home into a cozy retreat. By planning and preparing the surface, choosing the right wood, brushing the surface, installing the beams correctly, and enjoying the results, you can achieve a beautiful and functional ceiling design that reflects your personality and style.
Remember to take safety precautions, such as wearing protective gear and checking for wiring or plumbing, and have fun with the process. With a bit of effort and a lot of creativity, you can create a dreamy and inviting space that you and your loved ones can treasure for years to come.
Find Home Remodeling Services Additions Major Remodels Minor Remodels Disability Needs top-rated, pre-screened local contractors FREE: download contractor selection enter zip code – powered by HomeAdvisor ™


Image credit: by envato.com
end of post … please share it!
| more photo remodeling |
Jump Over to Our Photo Analysis Center for Ideas on
"Renovating Home"
|__________________________________________________________|
home remodeling surprise
find out where it might go - new win


Helpful article? Leave us a quick comment below.
And please share this article within your social networks.