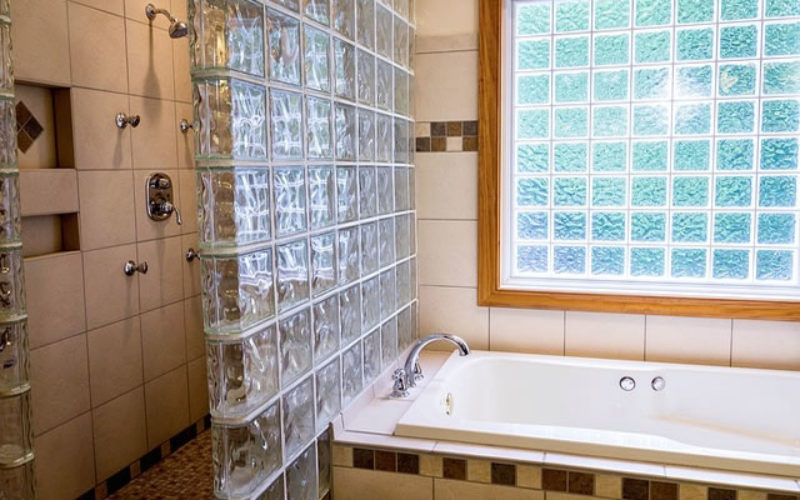
If there is efflorescence (the white chalk-like substance) that has stained your grout or grown even further to form clumps, you’ve got a water problem. Improper waterproofing can also lead to mold, which you already know poses a hazardous health risk. Mold can also attract insects that can cause further destruction; carpenter ants and termites will both be attracted to areas with mould. Remember that it is far easier to do the job right the first time than it is to attempt to correct a poorly done job.
Shower Waterproofing Considerations
You can waterproof your shower in several different, very effective ways. One is to buy a complete shower system which includes its own drain solution. The other is to use a roll-on product. When using a roll-on product, it’s imperative that you follow each step and reinforce joins and gaps in the walls and floor.
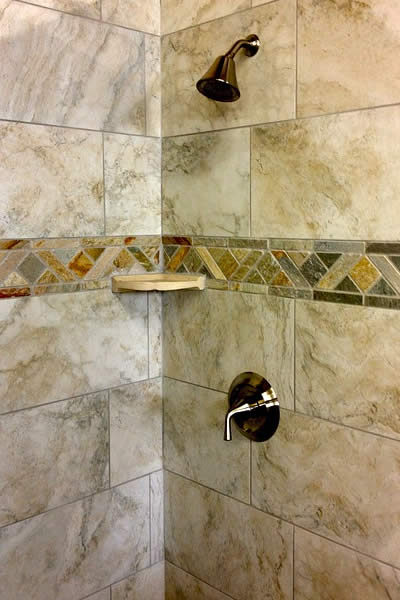
What follows is a comprehensive plan to waterproof your shower if you’ve decided to use one of the many roll-on products on the market. The first and maybe most important step is to check with your municipality’s building regulations and ensure that your plan is compliant.
It helps to take stock of your equipment and supplies before you even get started to make the job go easier and faster. First you’ll need enough reinforcing membrane and waterproofing to cover the area. You’ll also need a good quality brush or roller, along with a roller sleeve. If you use a roller, you’ll also want to invest in a tray and tray liner so that you can simply pour enough waterproofing into the tray with each use.
If you’re using a brush, you might want to select an edging brush, which has bristles that are cut on an angle and are effective at painting all of the corners and small areas you might need to cover. You’ll need something with which to cut your membrane; either a sharp pair of scissors or a box cutter with new blade. You may also want a pair of work gloves to protect your hands when cutting.
Some masking tape is handy, and you’ll definitely need a measuring tape or large ruler, depending on the size of the area you’re attempting to waterproof. You’ll also need a can of good quality primer, and a marking pencil or chalk. If you’re worried about getting paint or waterproofing in your eyes, make sure to wear some eye protection for the duration of the project, and wearing some old clothes or coveralls are a good idea.
Steps to Waterproof Your Shower
We’ve broken down the steps into easy to follow instructions. Although these aren’t the only way to accomplish waterproofing, they’re effective and useful.
-
Step1: Preparing Dimensions
Measure your wall and take note of the areas that will need waterproofing. It’s a good idea to mask your area with tape so that you have a better visual of the space. You’ll want to extend your waterproofing about 100 mm above your water outlet and the same distance wider than the outside edges of your shower unit.
-
Step2: Preparatory Coating
Paint some primer onto any area that you plan to waterproof, and don’t be afraid to use a generous amount. While the primer dries, measure your edges, corners and your internal joints that you also plan to waterproof. You can cut your reinforcing membrane to these specified measurements.
-
Step3: Application Proper
The next step is to apply the waterproofing with a brush or roller wherever you plan to install the reinforcing membrane. Make sure you get every area, down the corners and from top to bottom. While the area is still wet, mount the reinforcing membrane onto the waterproofing. Apply another coat of waterproofing over the top, and be sure to flatten the membrane as you go along.
If you cut a nick in the membrane, you may have an easier time when applying it to any recessed corners. Once you’ve installed the membrane, apply your waterproofing to the rest of the applicable walls, using horizontal strokes.
-
Step4: Connecting the Surfaces
Once the walls are finished, you’ll need to install the reinforcing membrane to the floor where it joins the walls and also all around the drain. First apply a coat of waterproofing, and then while it’s still wet, apply the membrane. As you did with the walls, apply a second coat of waterproofing and flatten out your membrane as you go. Continue by waterproofing the rest of the floor.
-
Step5: Second Coating
After you’ve waited for the first coat to dry, you’ll need to give the entire shower area a second coat, using vertical strokes of your roller or brush.
| google+ |
|__________________________________________________________|
home remodeling surprise
find out where it might go - new win


Helpful article? Leave us a quick comment below.
And please share this article within your social networks.